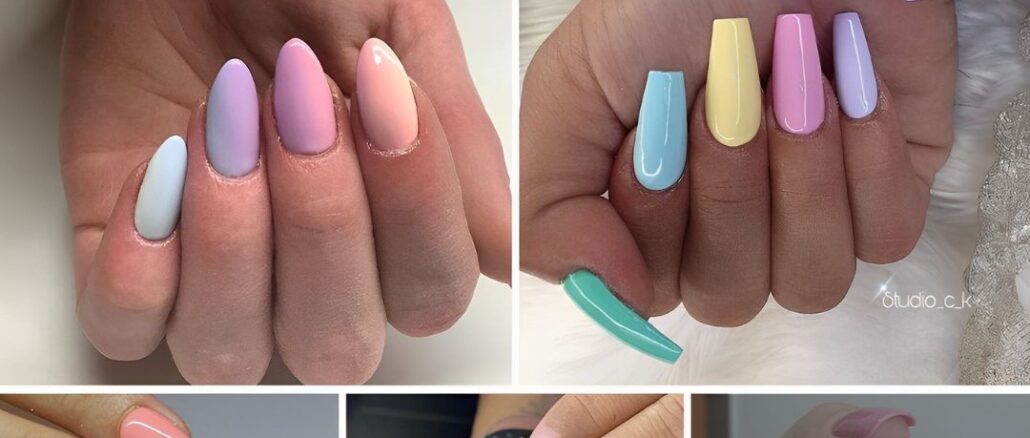
Creating pastel nails is a delightful way to embrace soft and dreamy colors. Follow these five easy steps to get your pastel nails done at home:
Materials You’ll Need:
- Pastel nail polish colors of your choice
- Nail polish remover
- Cotton balls or pads
- Base coat
- Top coat
- Nail file and buffer
- Cuticle pusher
- Cuticle oil
Step 1: Prepare Your Nails Start by removing any old nail polish using nail polish remover and cotton balls or pads. Ensure your nails are clean and polish-free before moving on.
Step 2: Shape and Buff Use a nail file to shape your nails to your desired length and style. Gently buff the surface of your nails to create a smooth canvas for the nail polish.
Step 3: Push Back Cuticles Apply cuticle oil to your cuticles and use a cuticle pusher to gently push them back. This step will give your nails a more polished appearance.
Step 4: Apply a Base Coat To protect your nails and ensure the pastel colors go on smoothly, apply a clear base coat. Allow it to dry completely before proceeding.
Step 5: Paint Your Nails with Pastel Colors Now, it’s time for the fun part. Apply your chosen pastel nail polish in thin, even coats. Start with a single coat and allow it to dry. Depending on the opacity of the polish, you may need to apply one or two more coats to achieve the desired level of color. Make sure each layer is completely dry before adding the next.
Step 6: Apply a Top Coat To seal your pastel nail art and provide a shiny finish, apply a clear top coat. This also helps protect your nails from chipping.
Step 7: Clean Up Use a small brush dipped in nail polish remover to clean up any polish that may have ended up on your skin or cuticles.
Step 8: Final Touches After the top coat has dried, apply cuticle oil to nourish your cuticles and hydrate your nails. This step will give your pastel nails a polished and healthy appearance.
Enjoy your lovely pastel nails! Whether you opt for soft pinks, mint greens, or baby blues, pastel nail colors are perfect for a delicate and sophisticated manicure that complements any outfit and season.

This is how to fix pastel nails yourself in 5 steps
1. Get your tools ready
Make sure you have the correct tools before you begin your pastel manicure. You should have the following tools:
- A UV or LED lamp
- Nail file
- Nail scissors
- Basecoat & topcoat
- You can shape your nails into the shape you prefer. You can now move on to the next, more fun step.
2. Use a Base Coat
Priming is the number one trick to ensure a manicure or makeup lasts a long time.
Before you move forward, make sure to prep your nails.
One layer of your base should be applied to clean and shape nails. Allow the base to dry for 60 seconds under your UV/LED lights. You can let your polish air dry for a few moments if it is gel polish. After your polish is primed and prepped, you can start the coloring process.
3. Add Your Pastel Gel/Normal Polish
It’s now time to create your pastel nails! You can choose any color you like, or mix and match different polishes. Start at the root of your nails and work your way up. You can get really creative if you like bright and noticeable colors. If you wish, you can paint each nail a different color.
4. Place it under a UV Lamp or air dry
Your UV lamp should be used to set the first coat of color for 60 seconds. You can add one more coat of your favorite gel shade and set it under your UV lamp.
To make sure it sticks, you should give it 120 seconds.
You can wipe your mistakes with a small tip. This step should be completed before you put your fingers into your LED lamp.
5. Use a top coat
Topcoats are essential to ensure that you achieve the best results. You can prolong the life of your manicure by using a topcoat. Apply one coat of varnish thicker and let it dry under the UV lamp for 60 seconds.
There are two options: glossy or matte. You can choose between matte or glossy. You should know that bright colors and pastels look best when they are as shiny as possible.
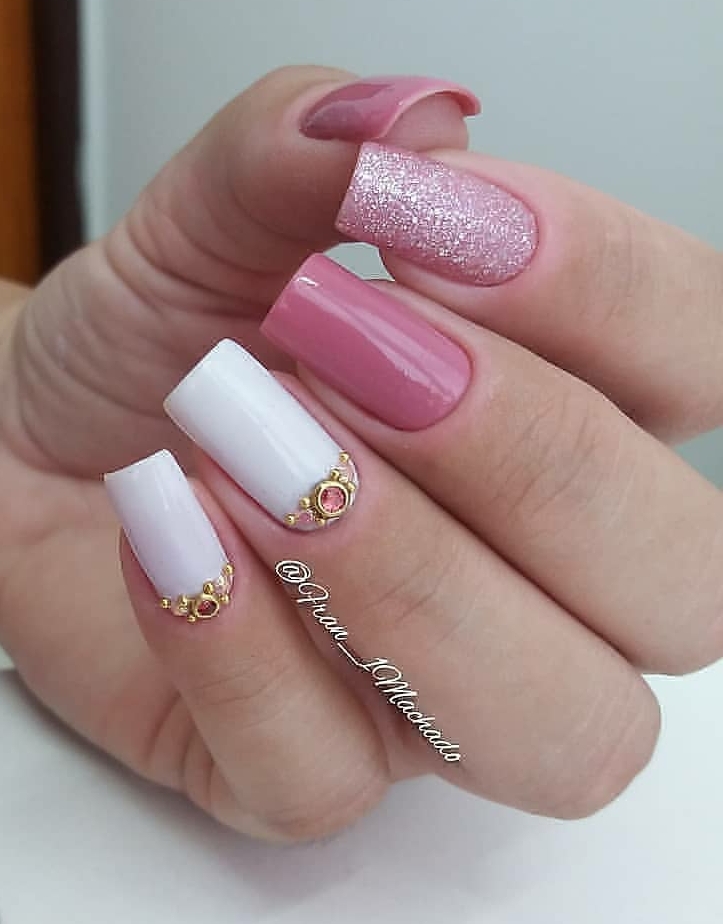
Scroll down to see all the pastel nails we found on Instagram.

