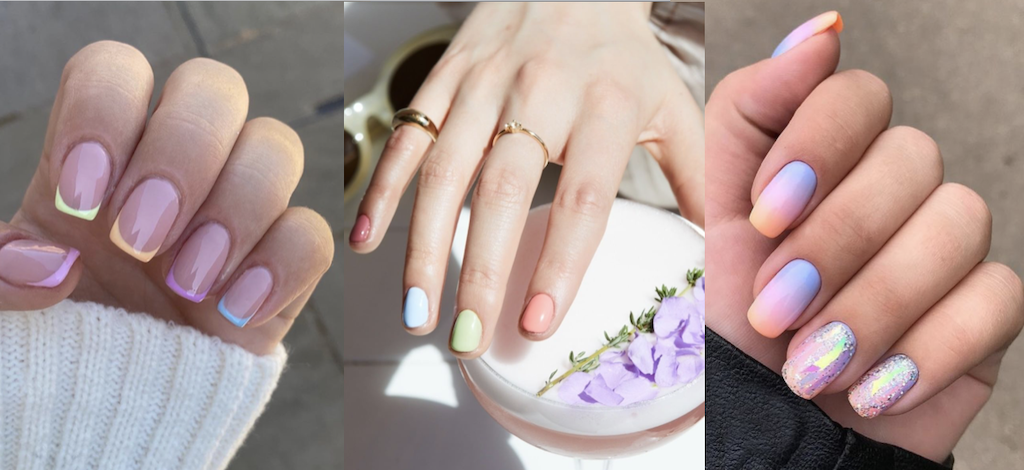
Achieving beautiful pastel nails is easier than you think! Follow these 5 simple steps to get soft, elegant pastel nails that are perfect for any season.
1. Prep Your Nails: Start by ensuring your nails are clean and well-shaped. Trim, file, and buff your nails to your desired shape (square, oval, almond, etc.). Push back your cuticles gently with a cuticle pusher for a neat finish. Cleanse your nails with a nail cleanser or rubbing alcohol to remove any oils, which helps the polish adhere better.
2. Apply a Base Coat: Always apply a base coat to protect your natural nails and create a smooth surface for the polish. A good base coat also prevents staining, especially when working with light-colored pastels. Allow the base coat to dry completely before moving on to the next step.
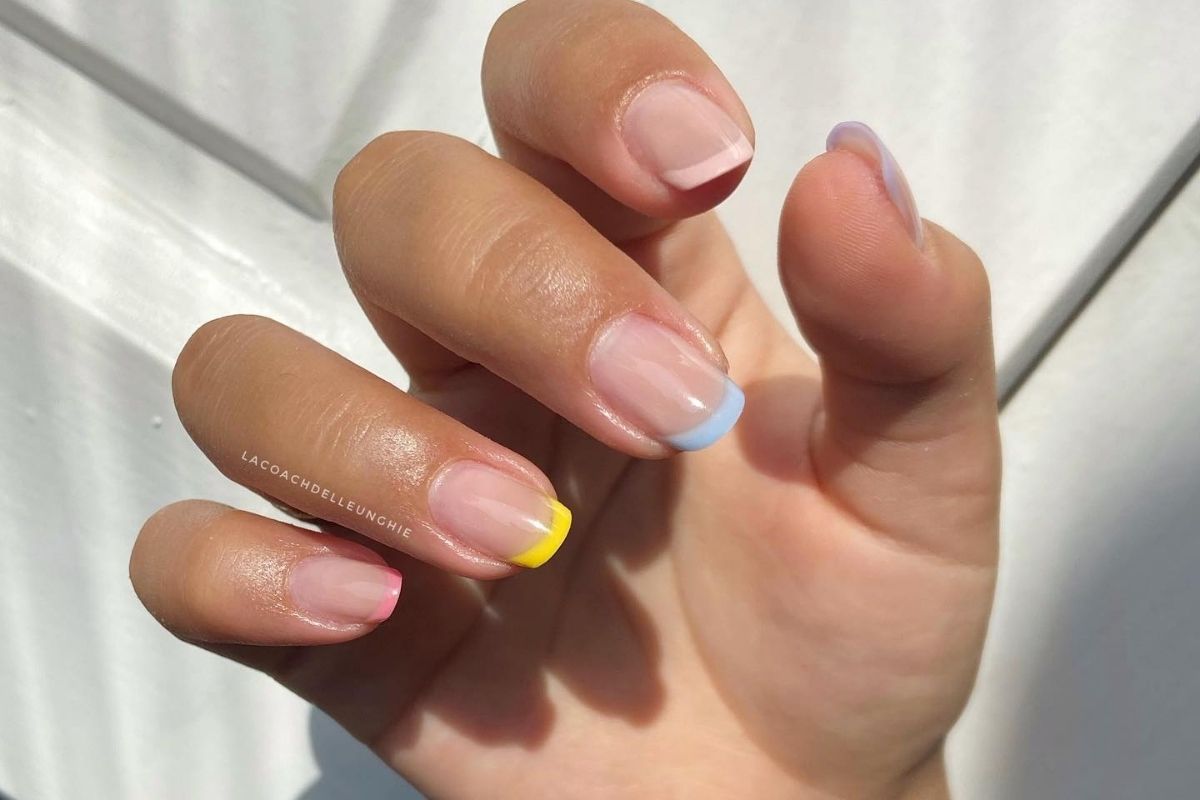
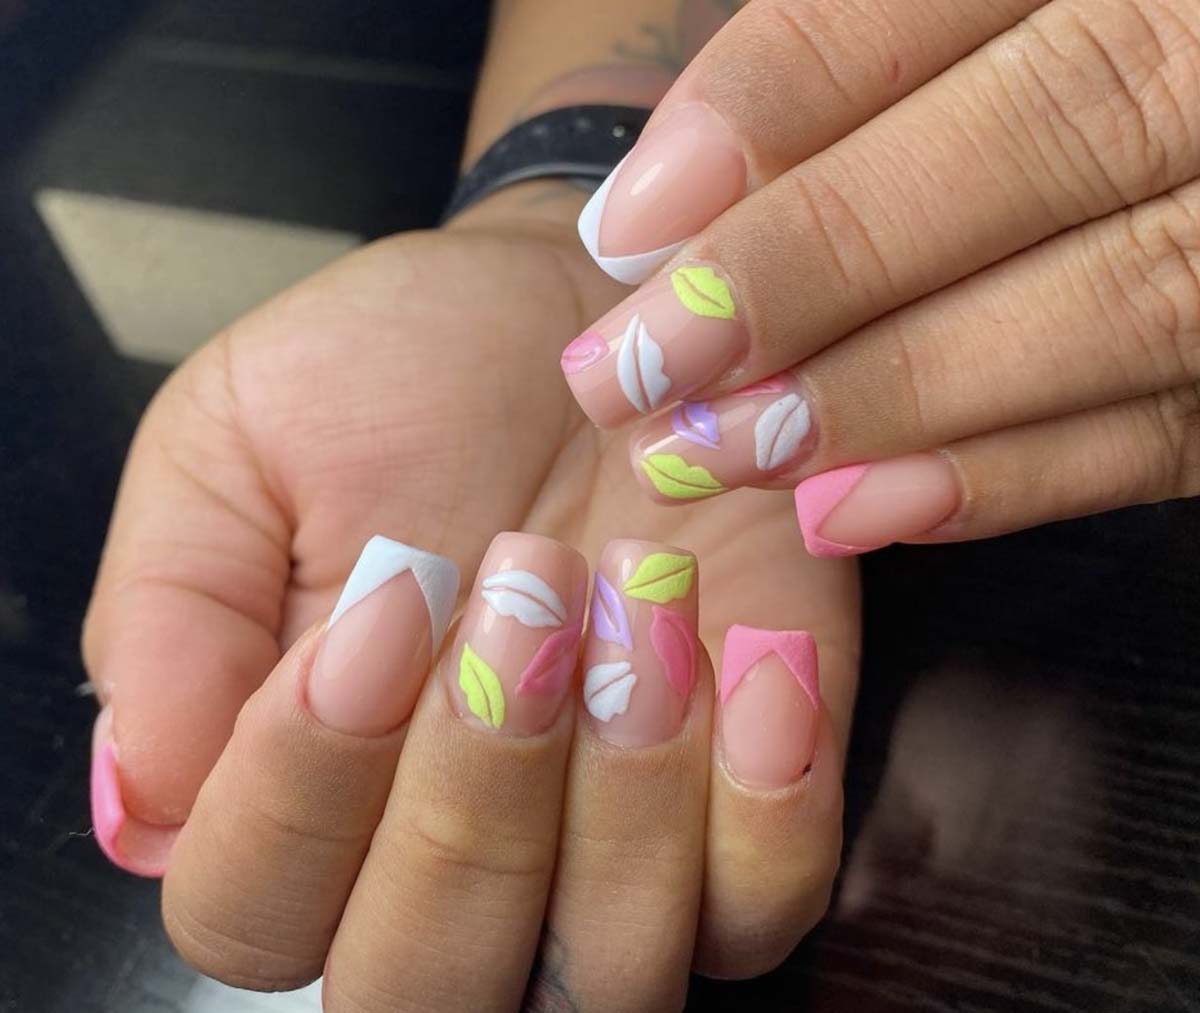
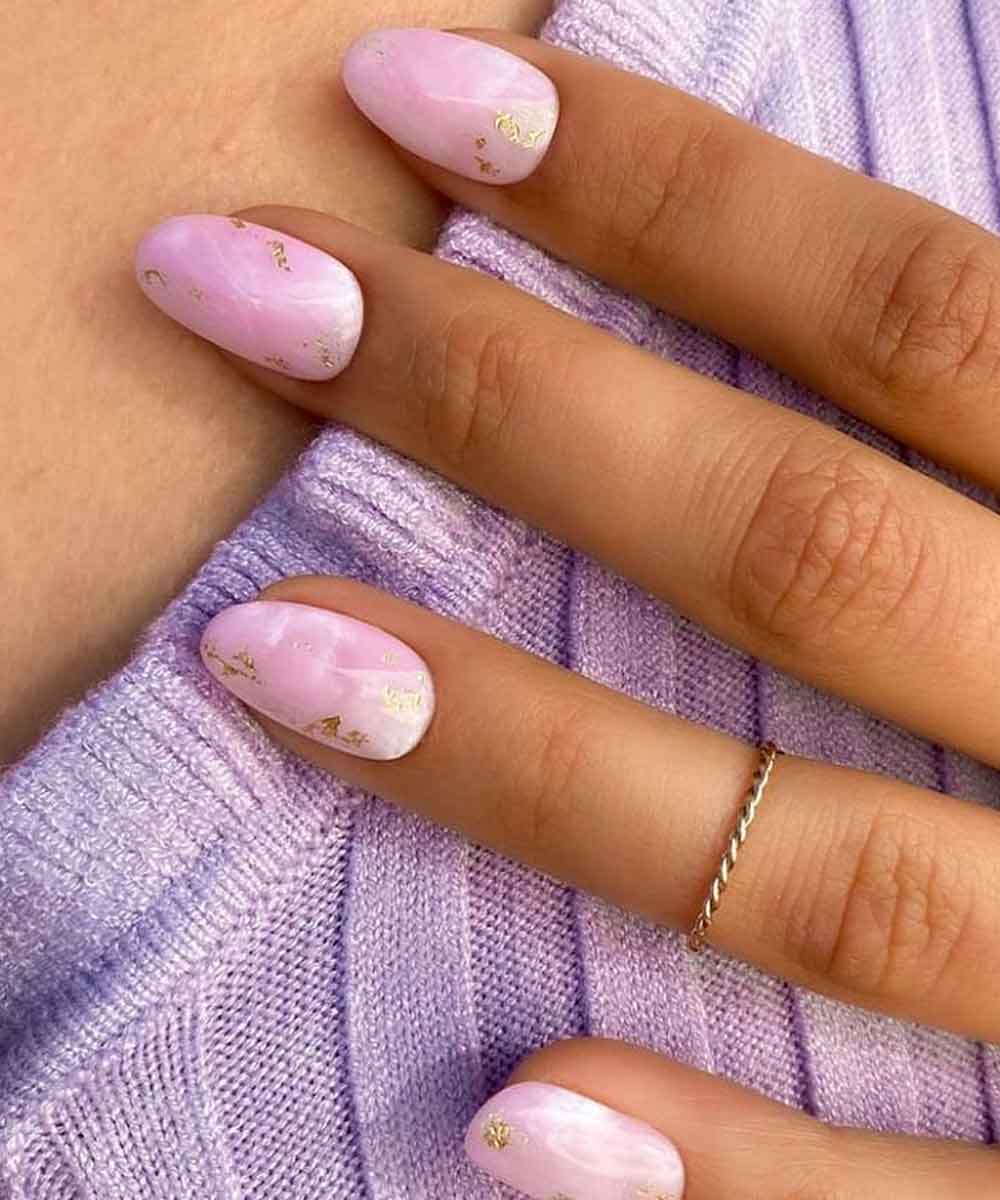
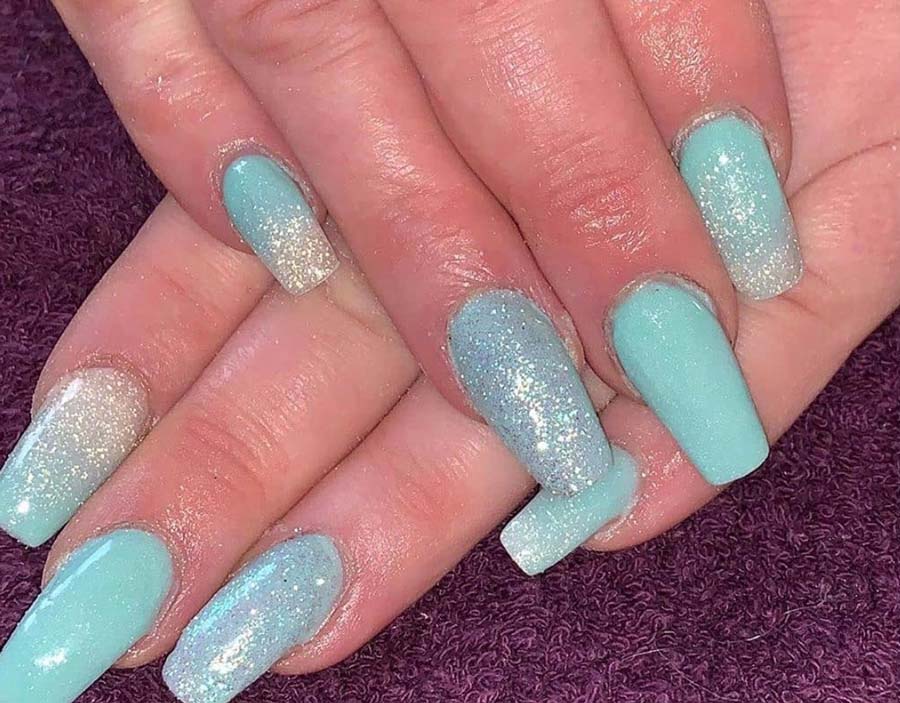
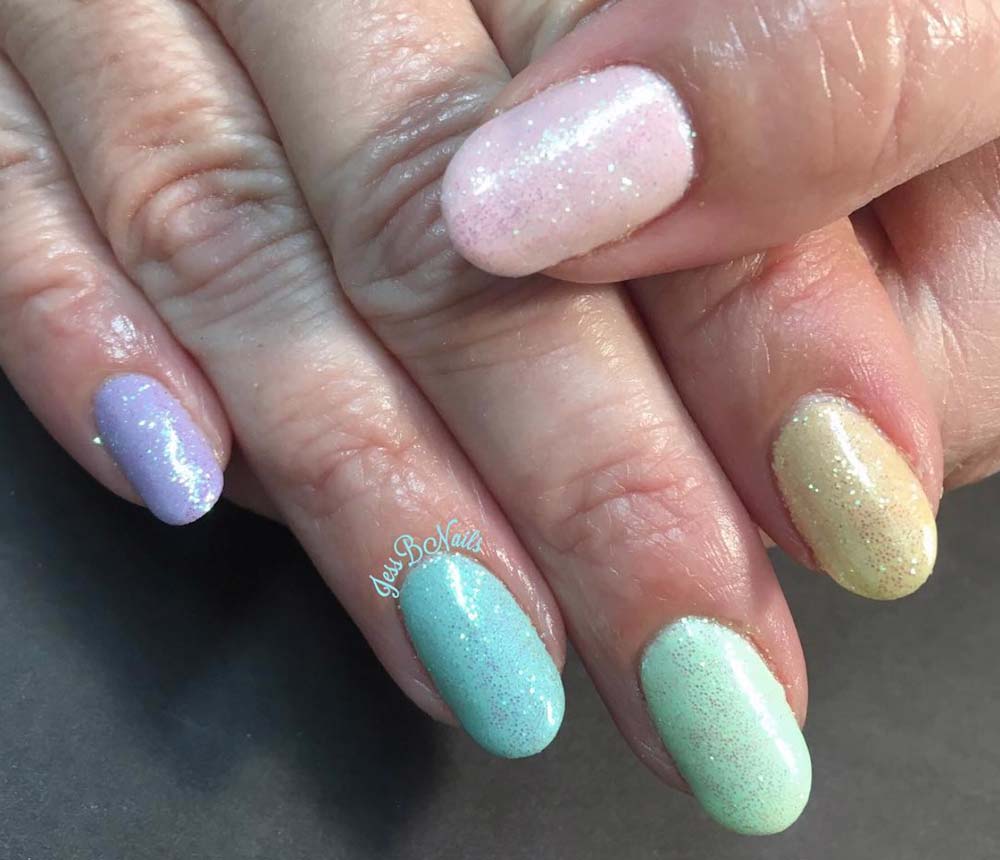
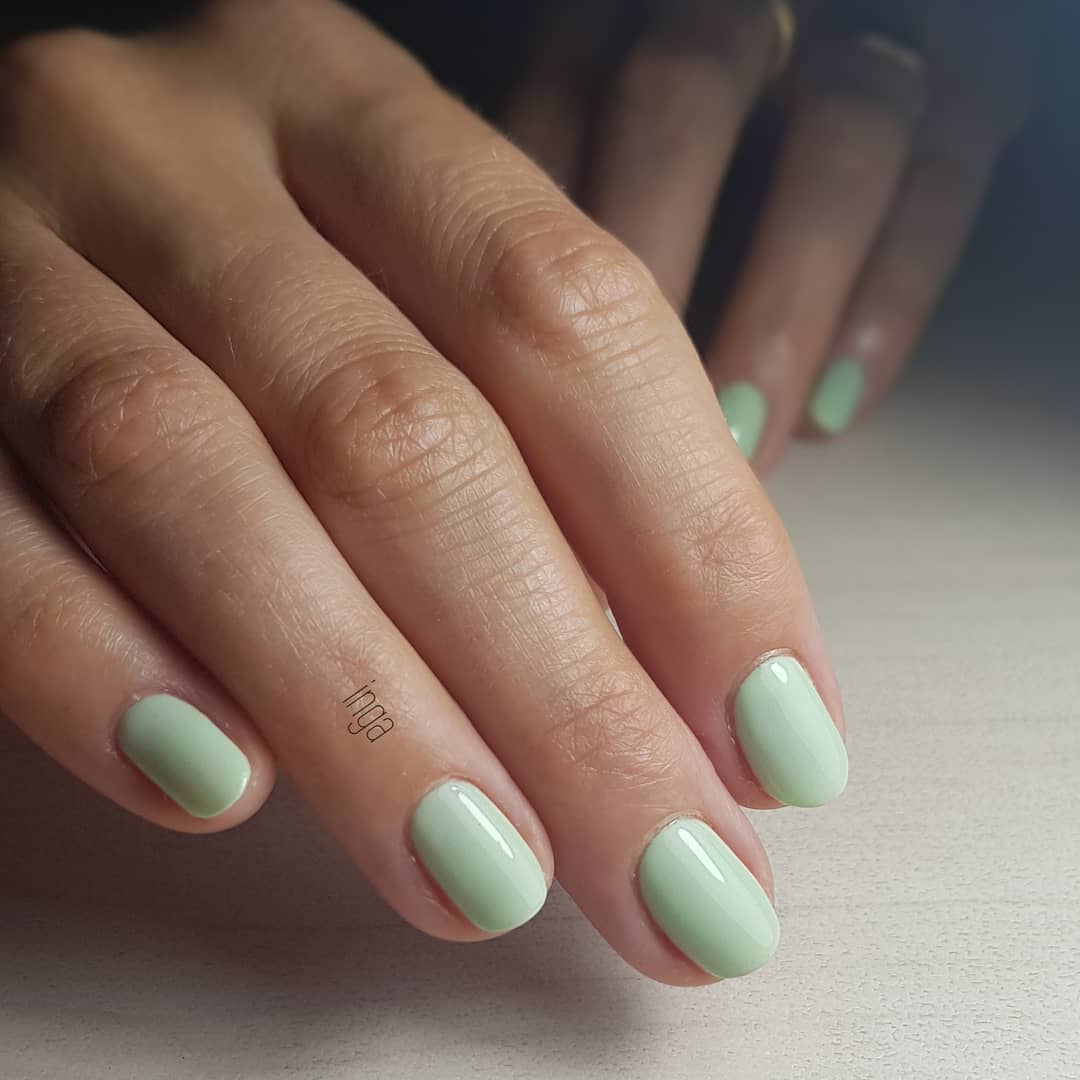
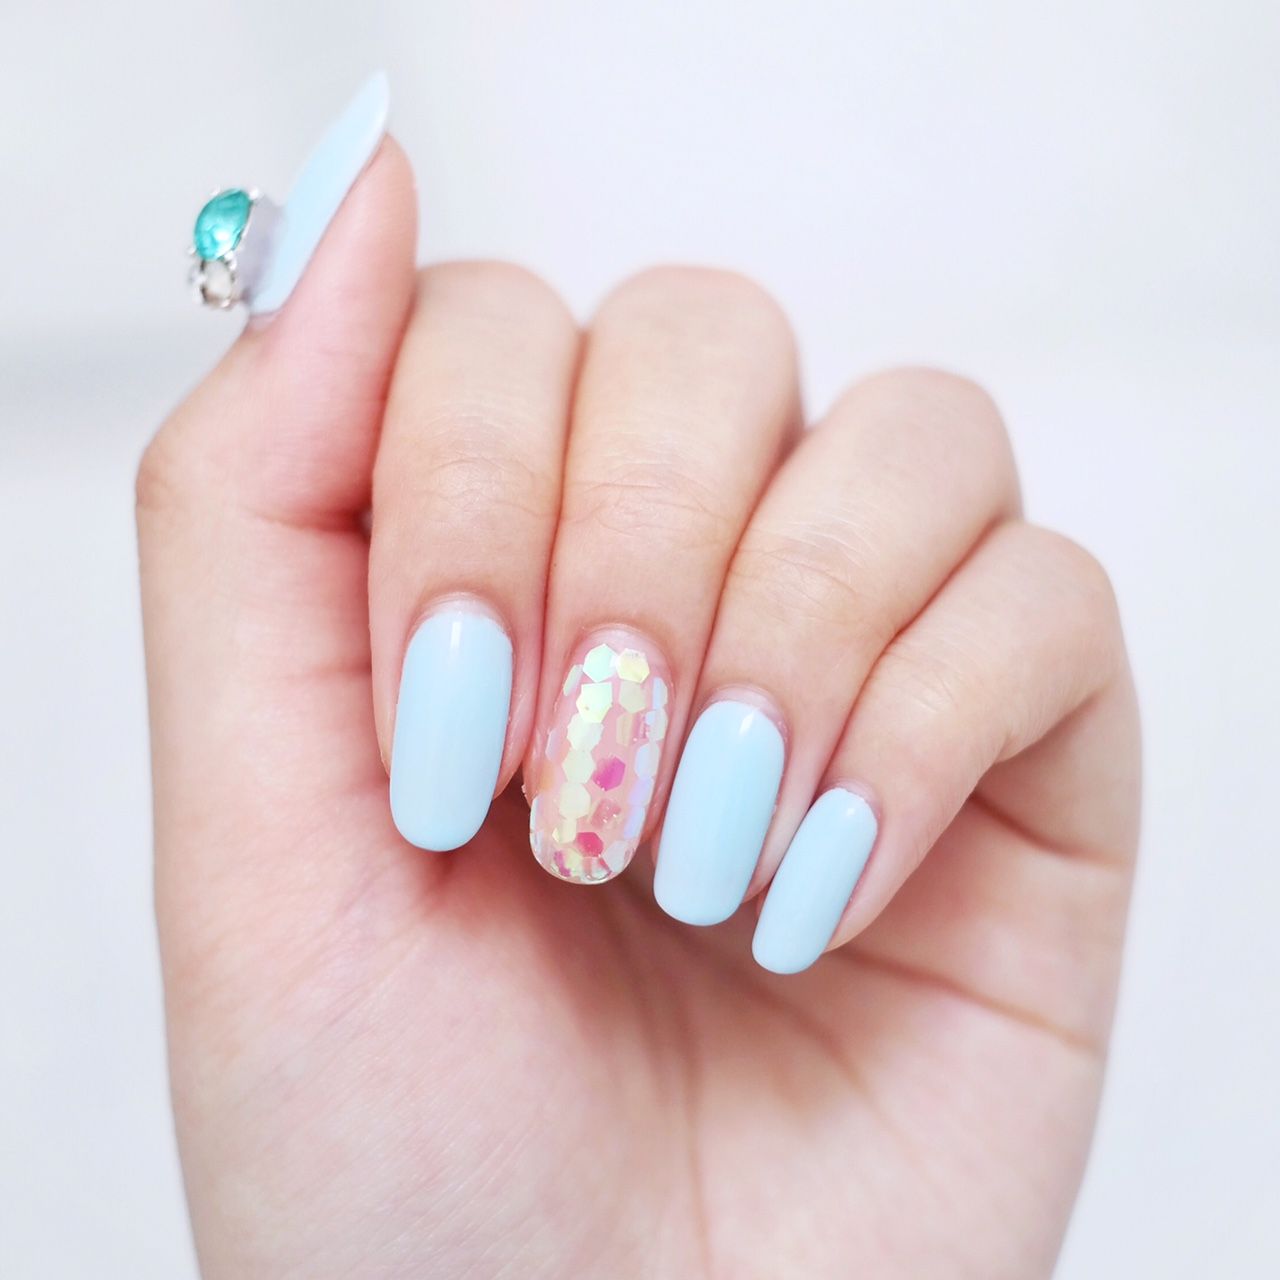
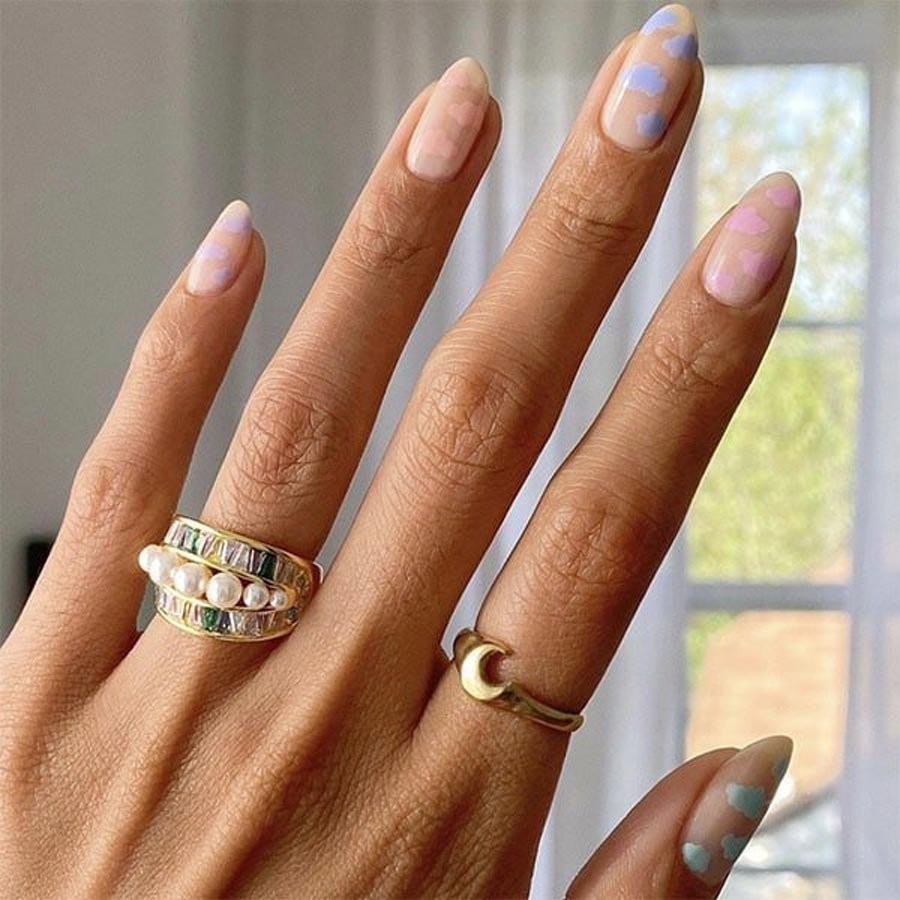
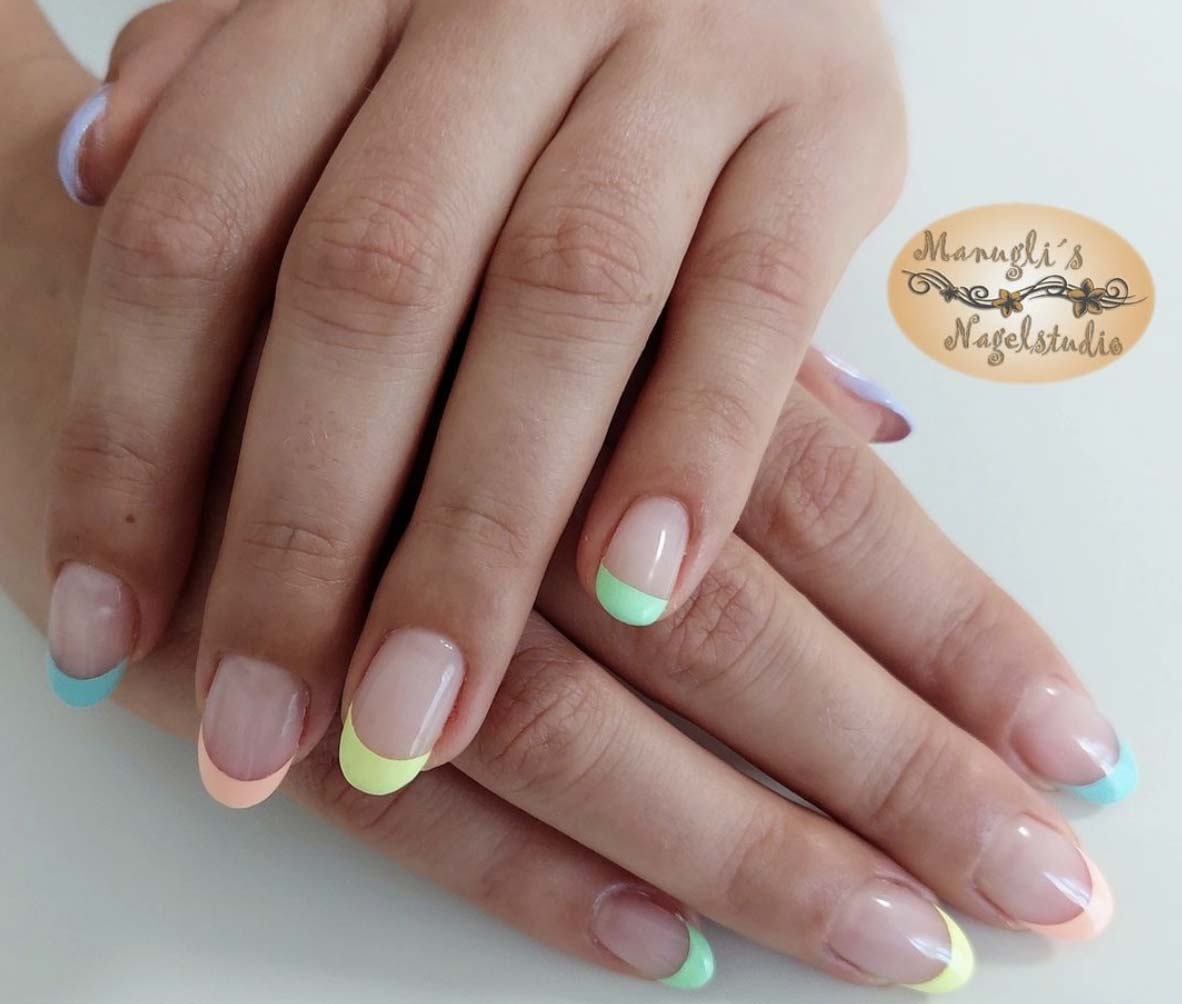
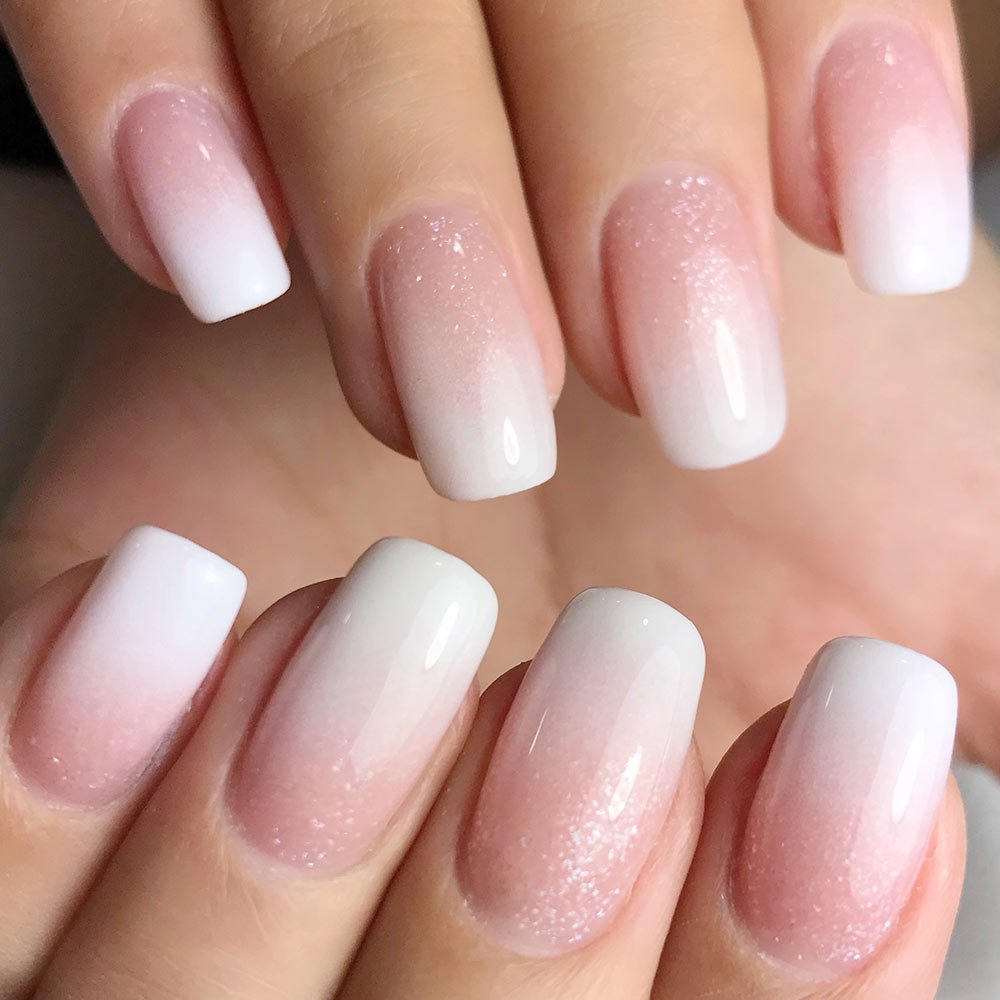
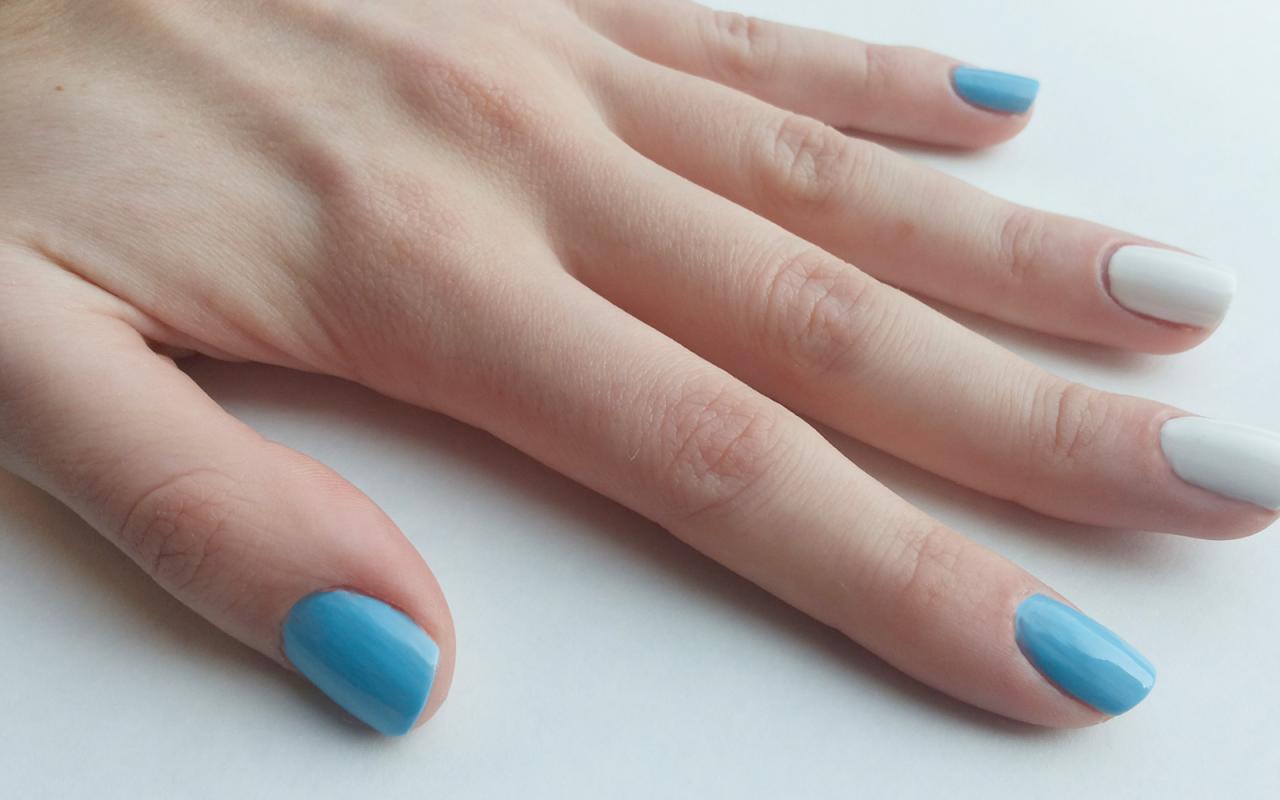
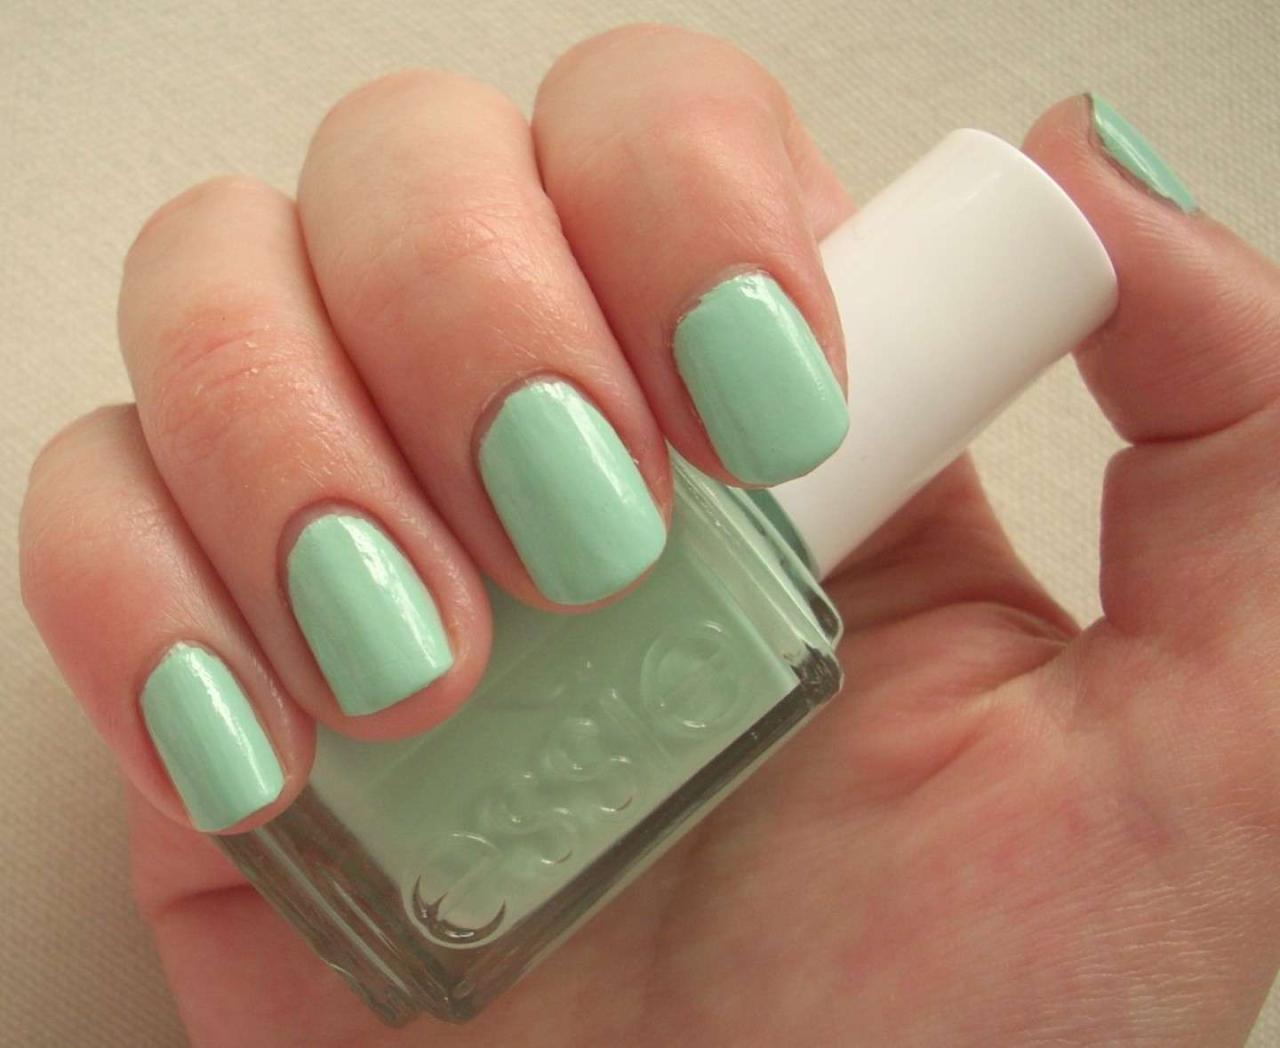
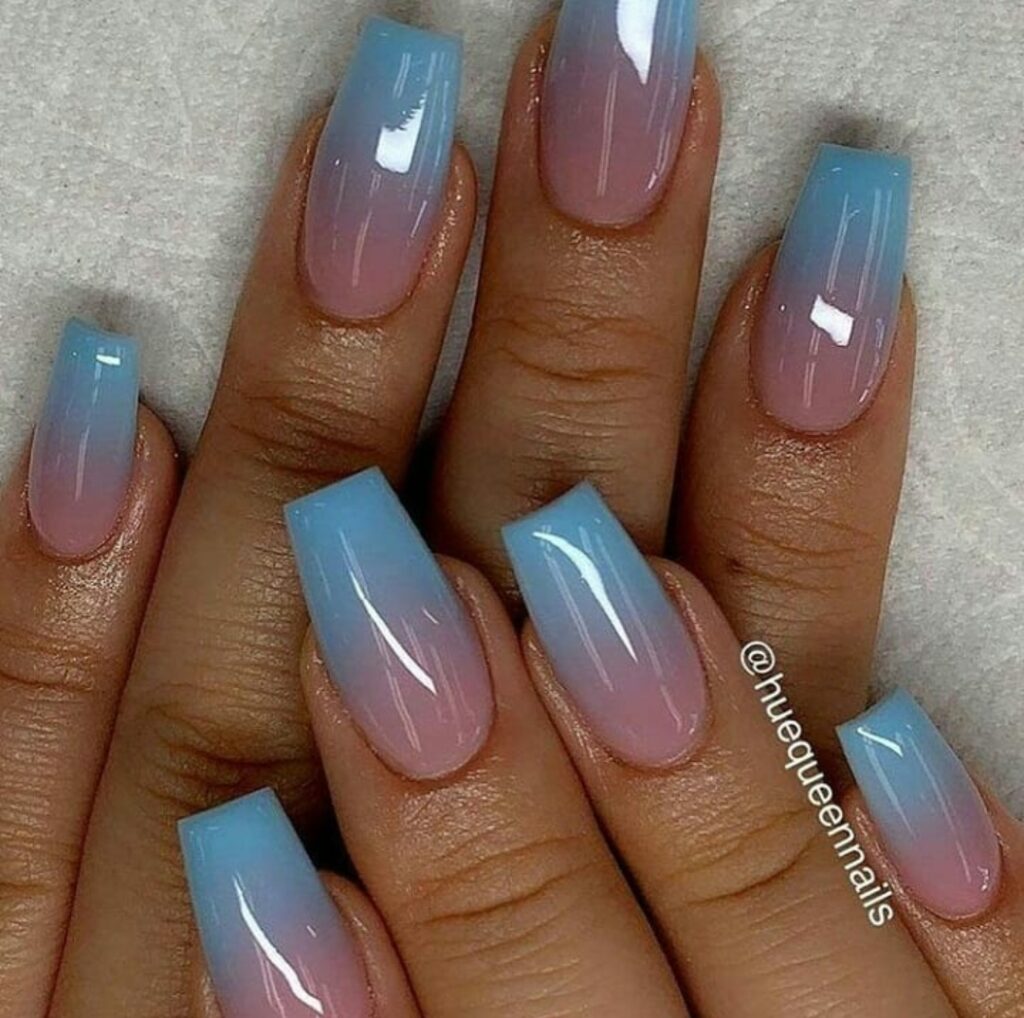
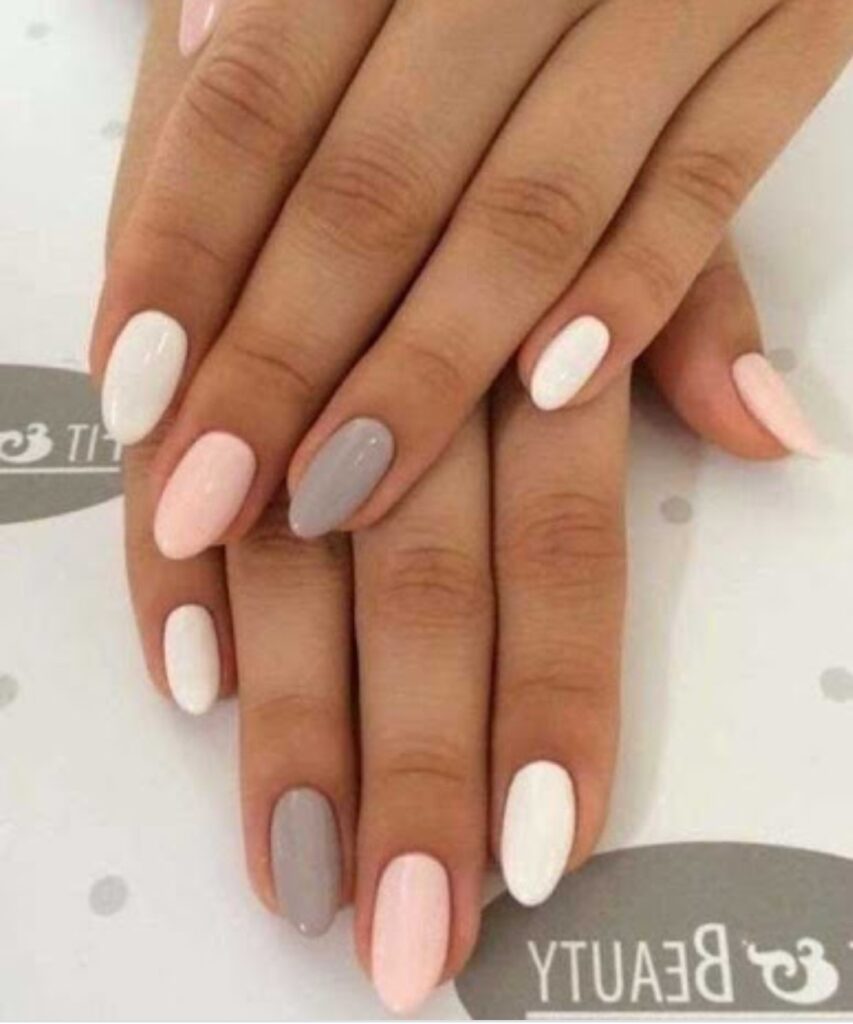
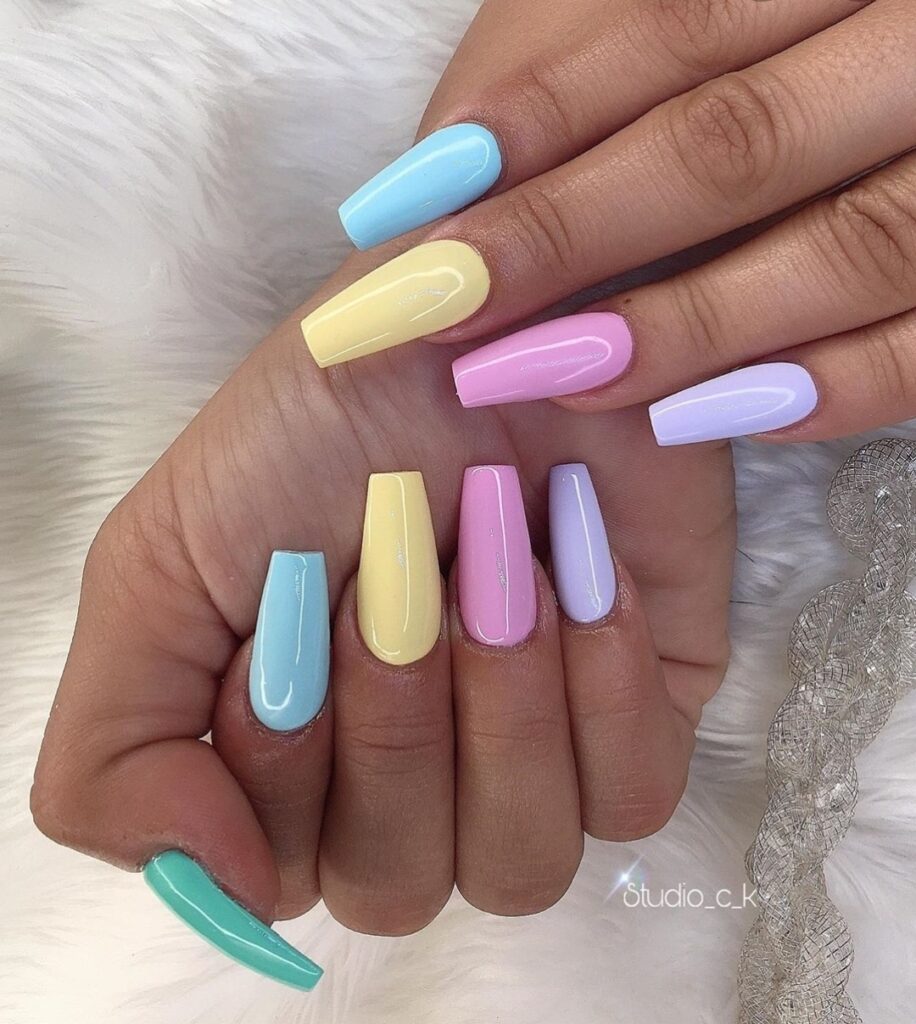
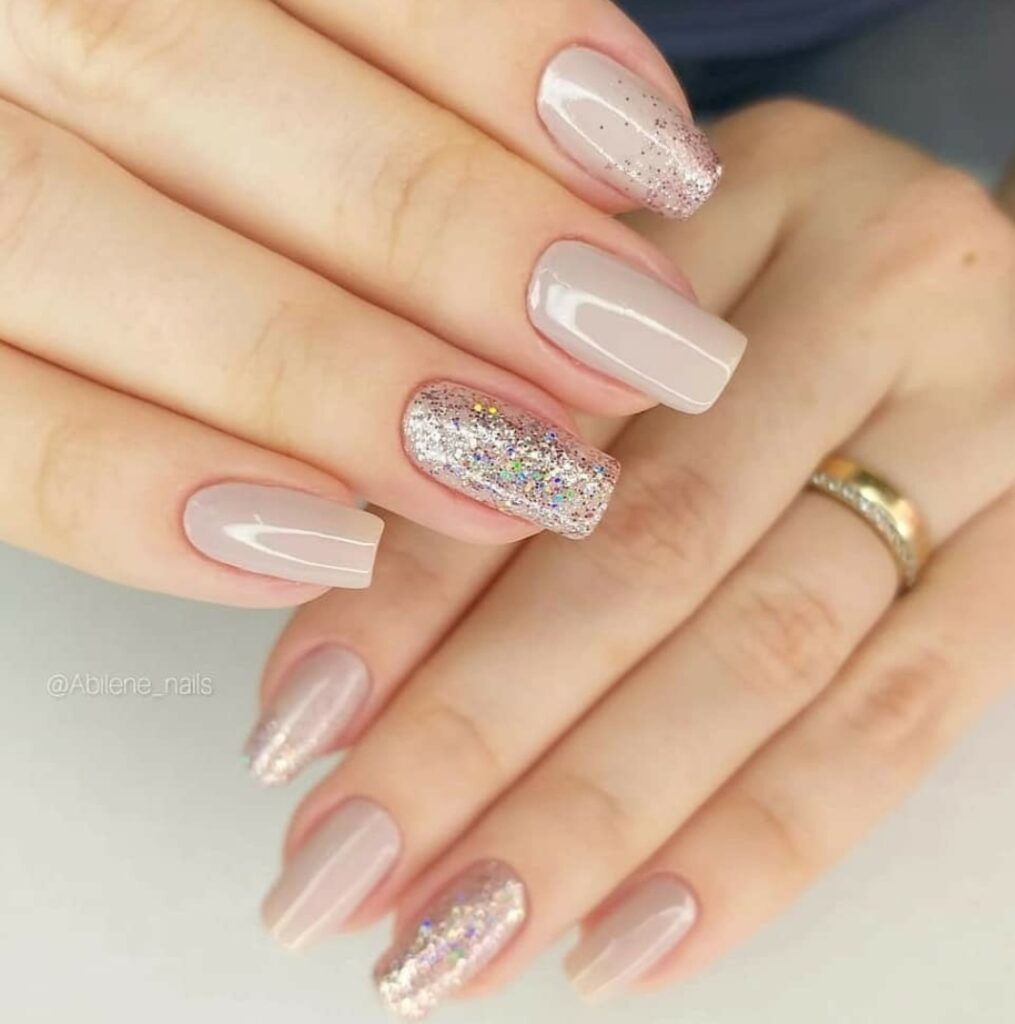
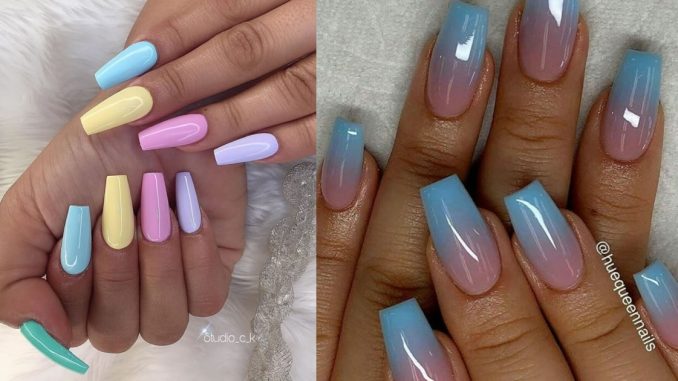
3. Choose Your Pastel Polish: Pick your favorite pastel shade—whether it’s soft pink, mint green, baby blue, or lavender. Apply the first thin coat of pastel polish. Thin layers help avoid streaks and uneven application. Allow it to dry fully before applying a second coat. For an even finish, two coats should be enough, but if you want a more opaque look, you can add a third coat.
4. Clean Up the Edges: After your pastel polish has dried, use a small brush dipped in acetone or nail polish remover to carefully clean up any excess polish around the edges of your nails. This step gives your manicure a clean, professional finish.
5. Seal with a Top Coat: Finish with a clear, glossy top coat to lock in the pastel color and add shine. A top coat also helps prevent chipping, making your pastel manicure last longer. If you prefer a more modern look, you can opt for a matte top coat for a velvety, chic finish.
With these five simple steps, you’ll have gorgeous pastel nails that are perfect for any occasion!

That is the way to repair pastel nails your self in 5 steps
1. Get your instruments prepared
Be sure you have the proper instruments earlier than you start your pastel manicure. You must have the next instruments:
A UV or LED lamp
Nail file
Nail scissors
Basecoat & topcoat
You may form your nails into the form you like. Now you can transfer on to the subsequent, extra enjoyable step.
2. Use a Base Coat
Priming is the primary trick to make sure a manicure or make-up lasts a very long time.
Earlier than you progress ahead, make certain to prep your nails.
One layer of your base needs to be utilized to scrub and form nails. Enable the bottom to dry for 60 seconds underneath your UV/LED lights. You may let your polish air dry for a couple of moments whether it is gel polish. After your polish is primed and prepped, you can begin the coloring course of.
3. Add Your Pastel Gel/Regular Polish
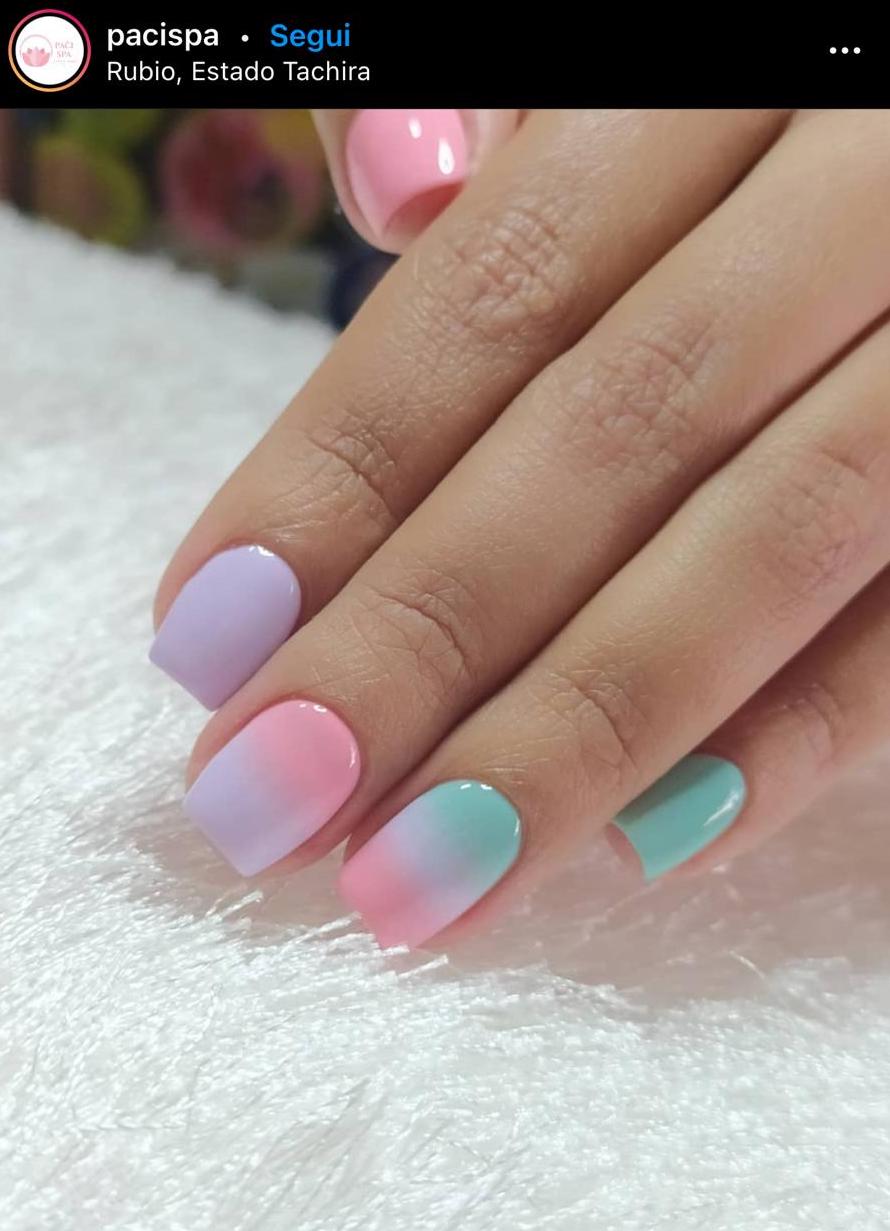
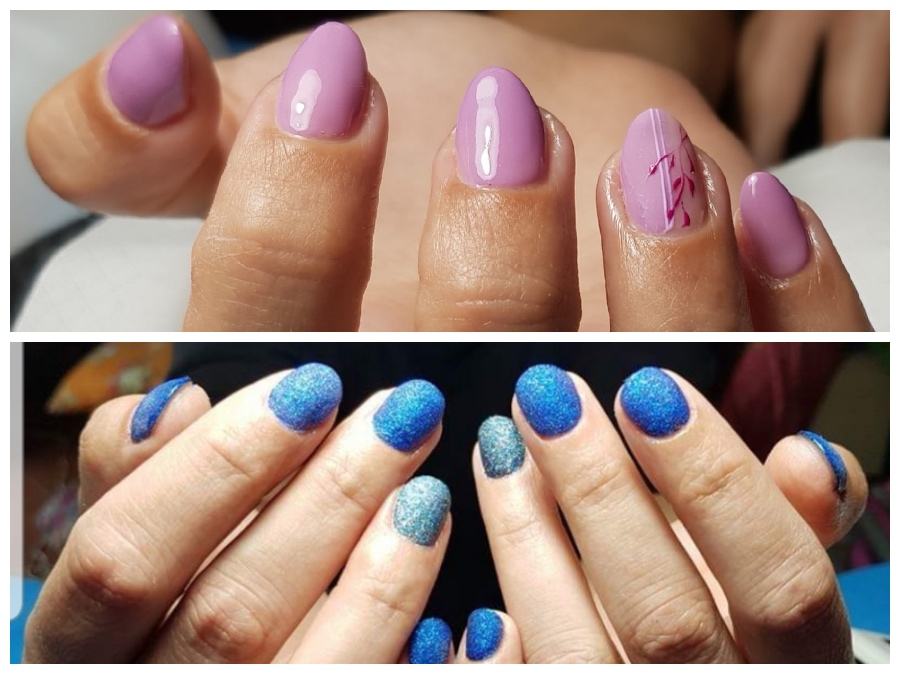
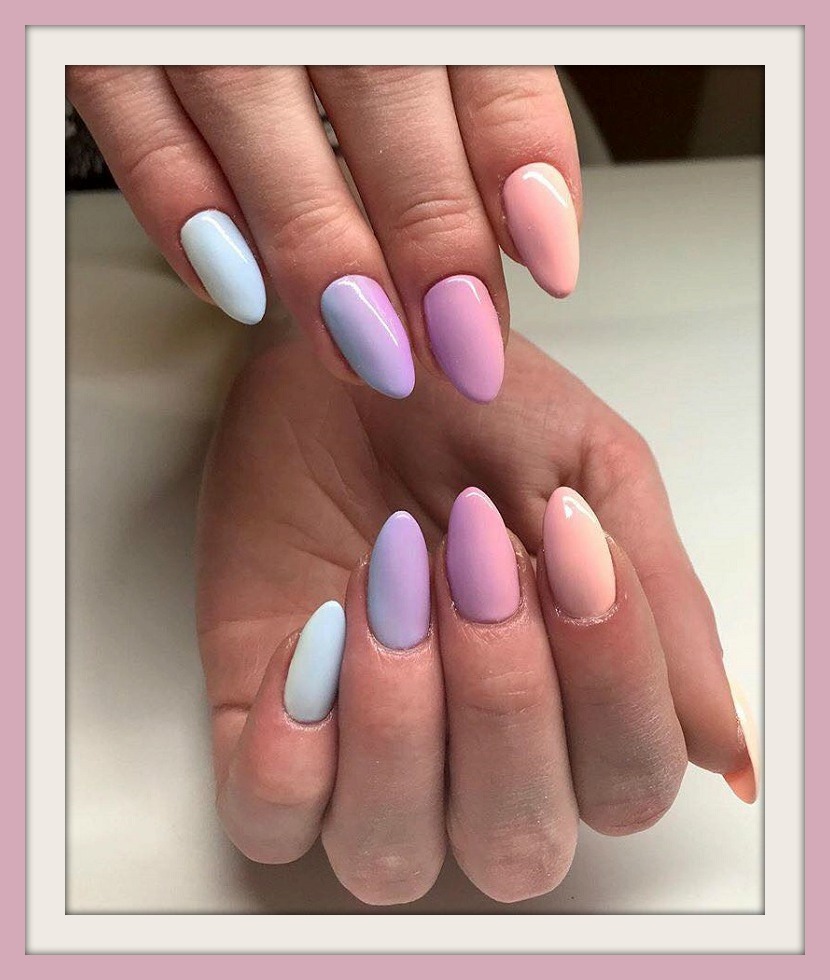
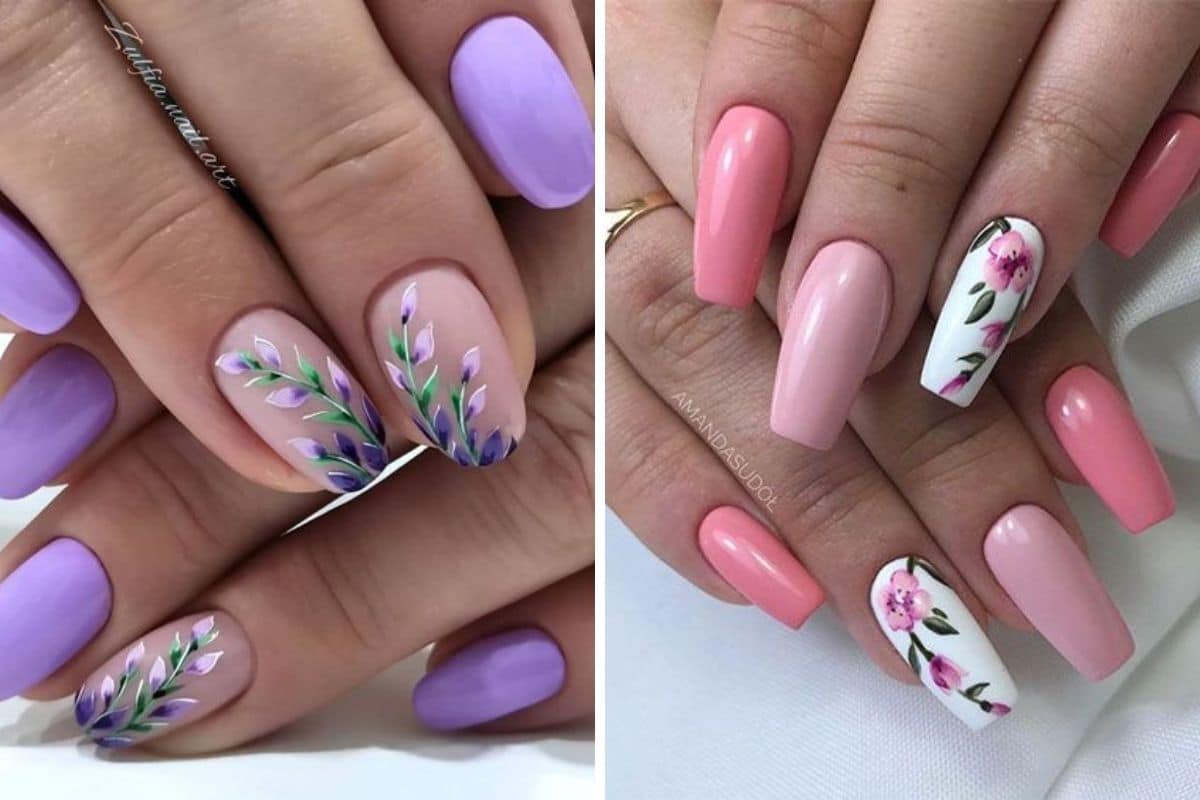
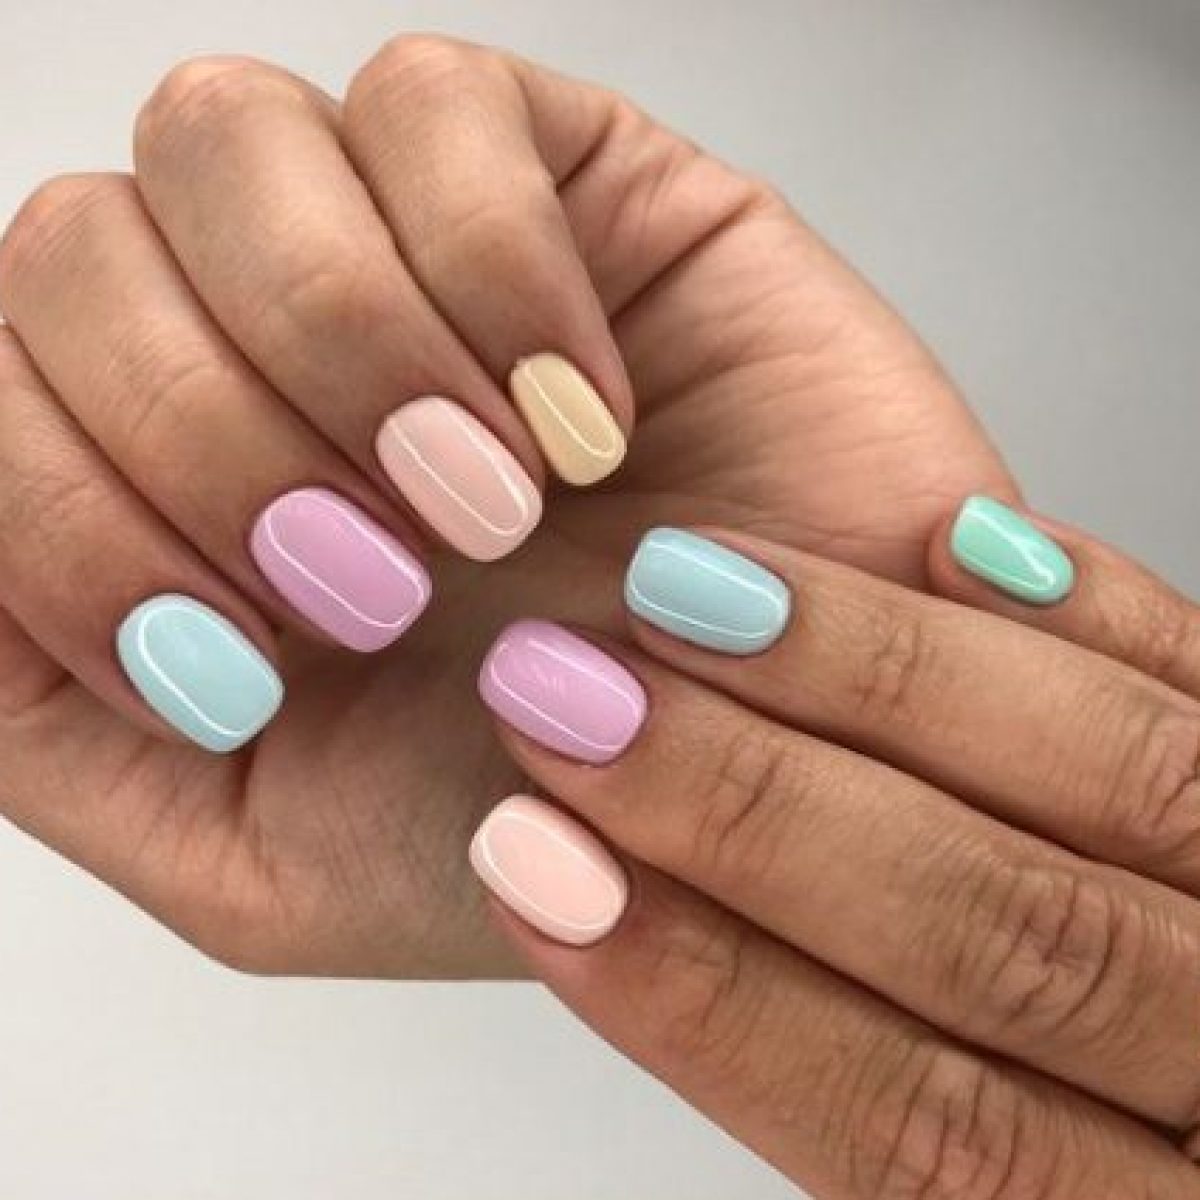
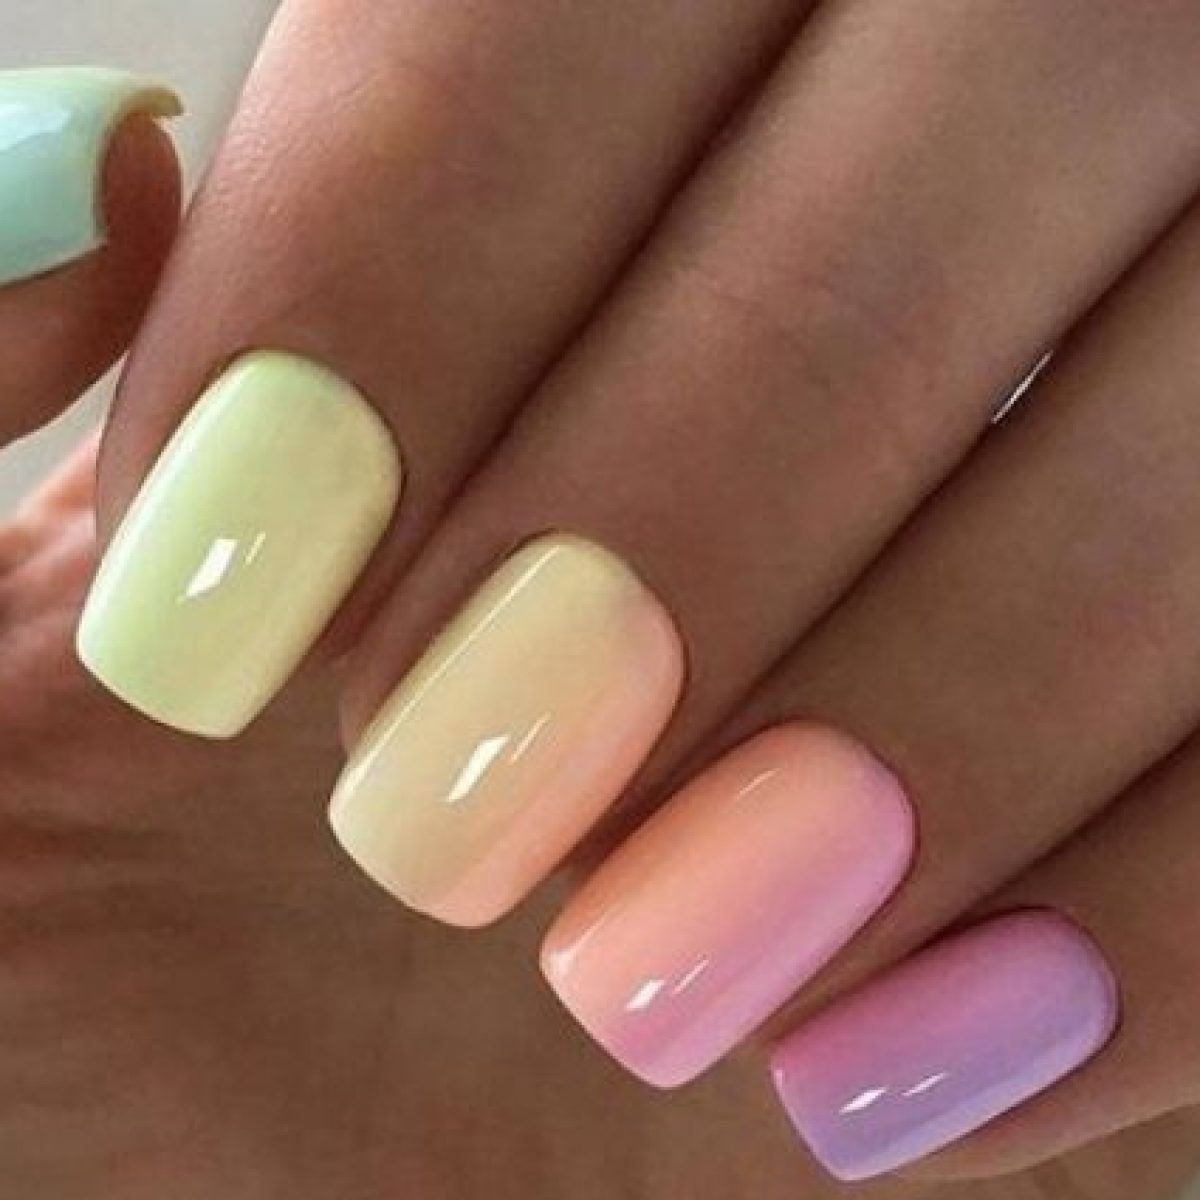
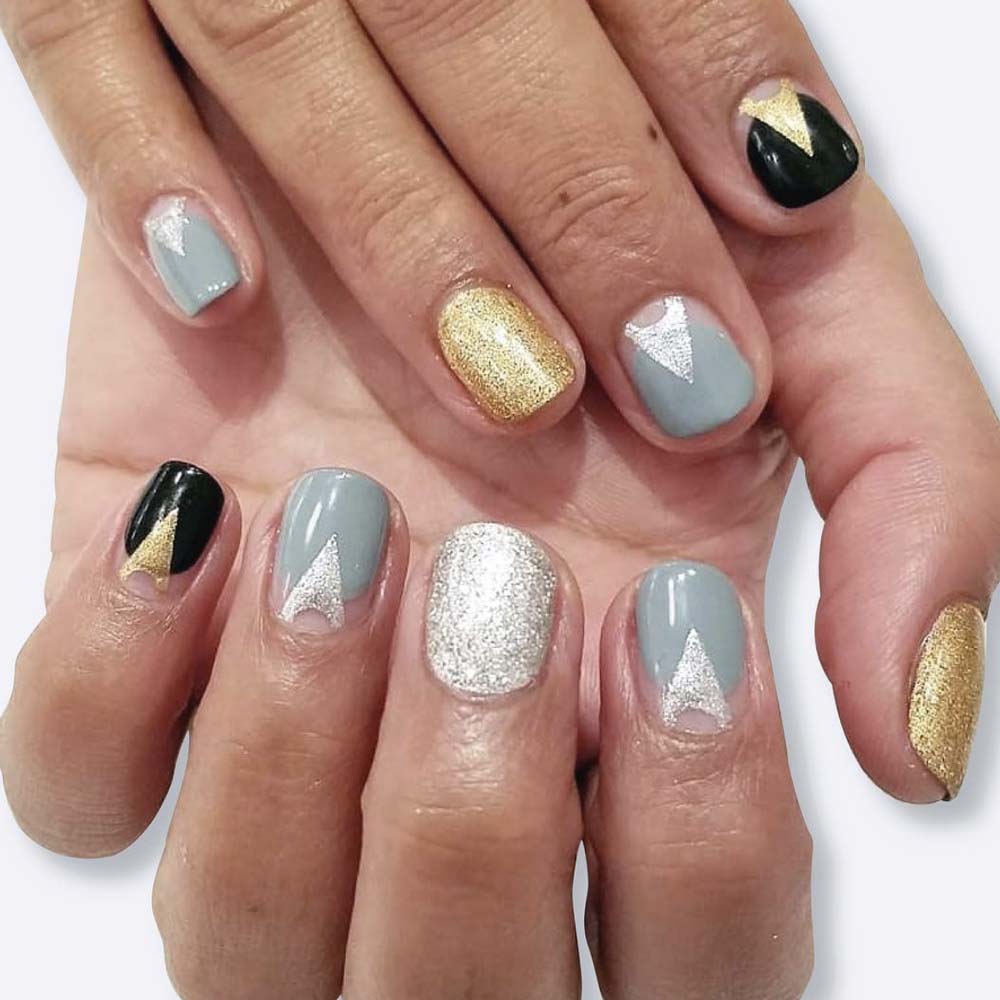
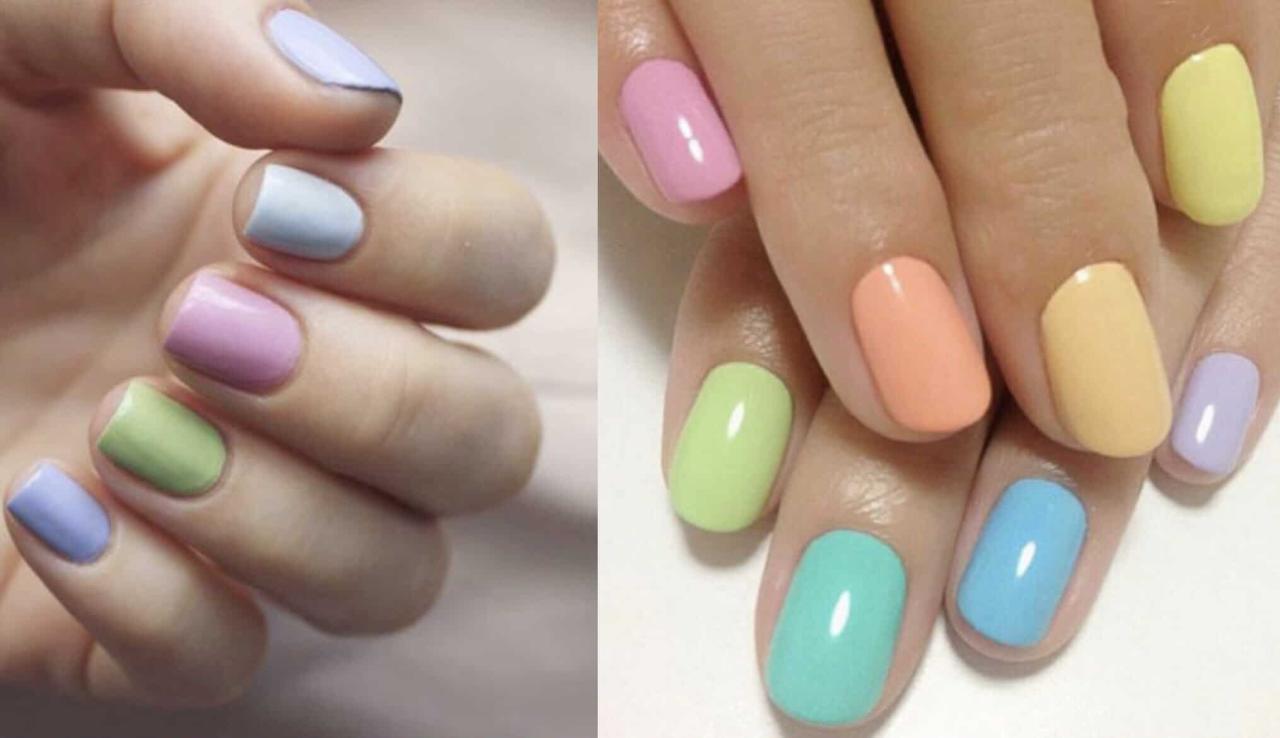
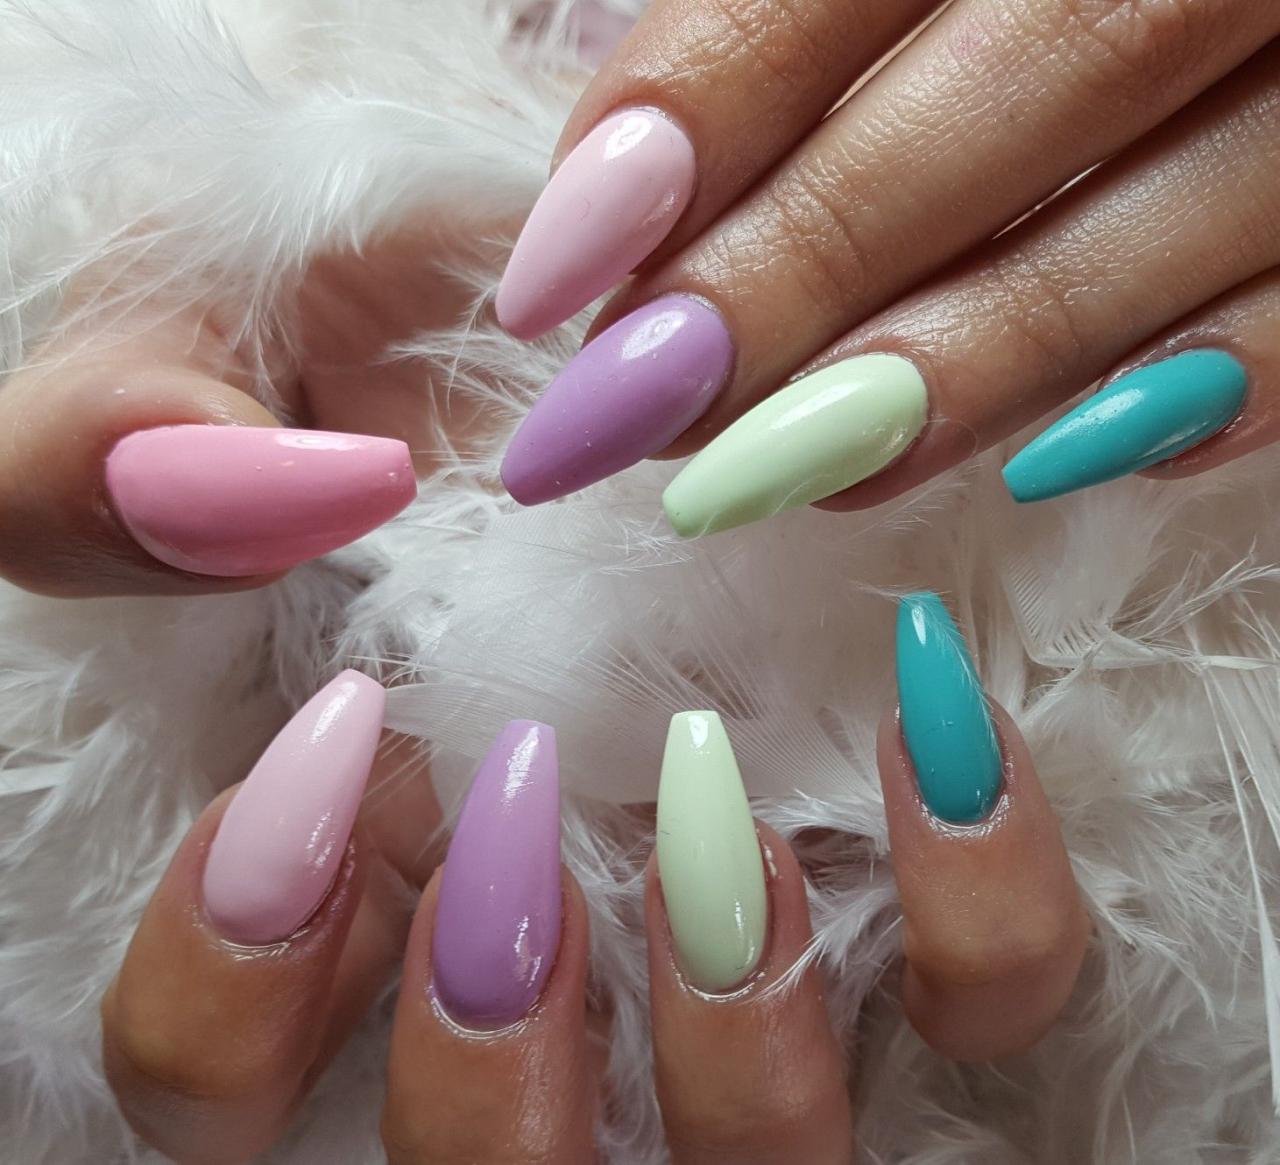
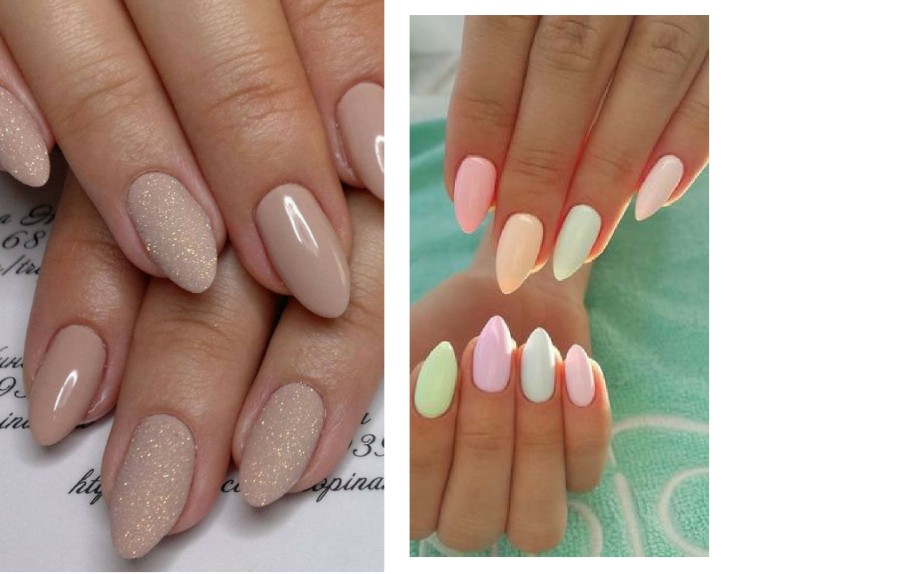
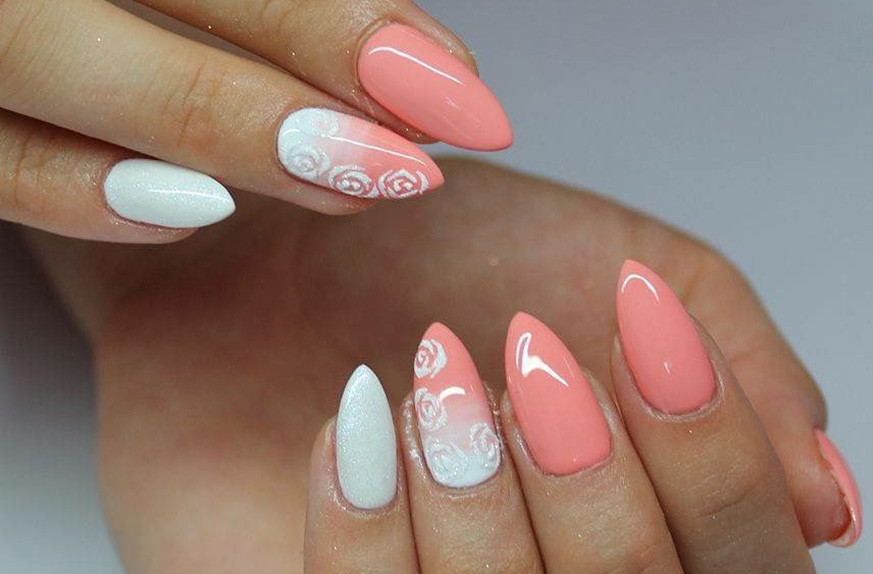
It’s now time to create your pastel nails! You may select any colour you want, or combine and match completely different polishes. Begin on the root of your nails and work your method up. You may get actually inventive in the event you like vivid and noticeable colours. If you want, you’ll be able to paint every nail a distinct colour.
4. Place it underneath a UV Lamp or air dry
Your UV lamp needs to be used to set the primary coat of colour for 60 seconds. You may add yet another coat of your favourite gel shade and set it underneath your UV lamp.
To ensure it sticks, you need to give it 120 seconds.
You may wipe your errors with a small tip. This step needs to be accomplished earlier than you set your fingers into your LED lamp.
5. Use a prime coat
Topcoats are important to make sure that you obtain the perfect outcomes. You may delay the lifetime of your manicure by utilizing a topcoat. Apply one coat of varnish thicker and let it dry underneath the UV lamp for 60 seconds.
There are two choices: shiny or matte. You may select between matte or shiny. You must know that vivid colours and pastels look greatest when they’re as shiny as potential.
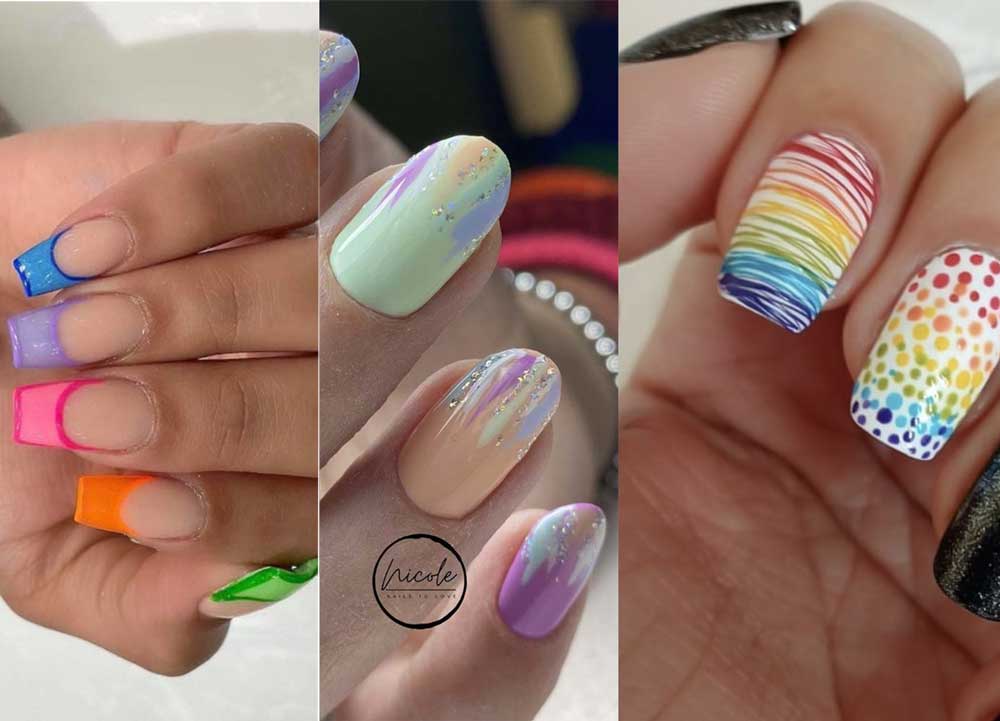
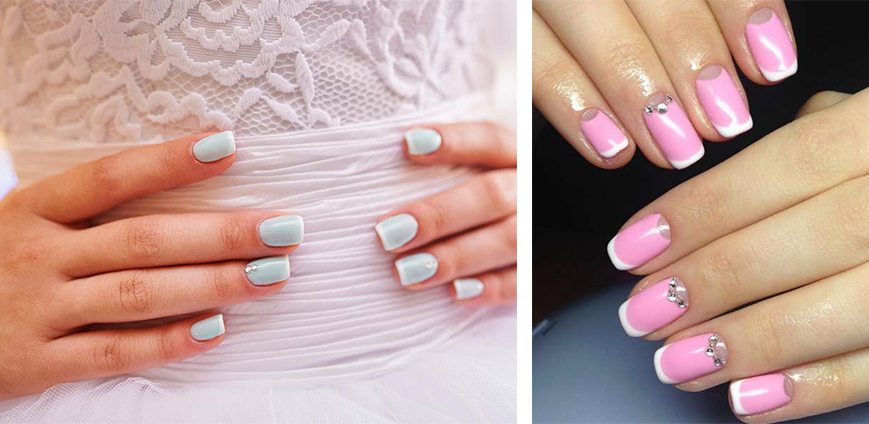
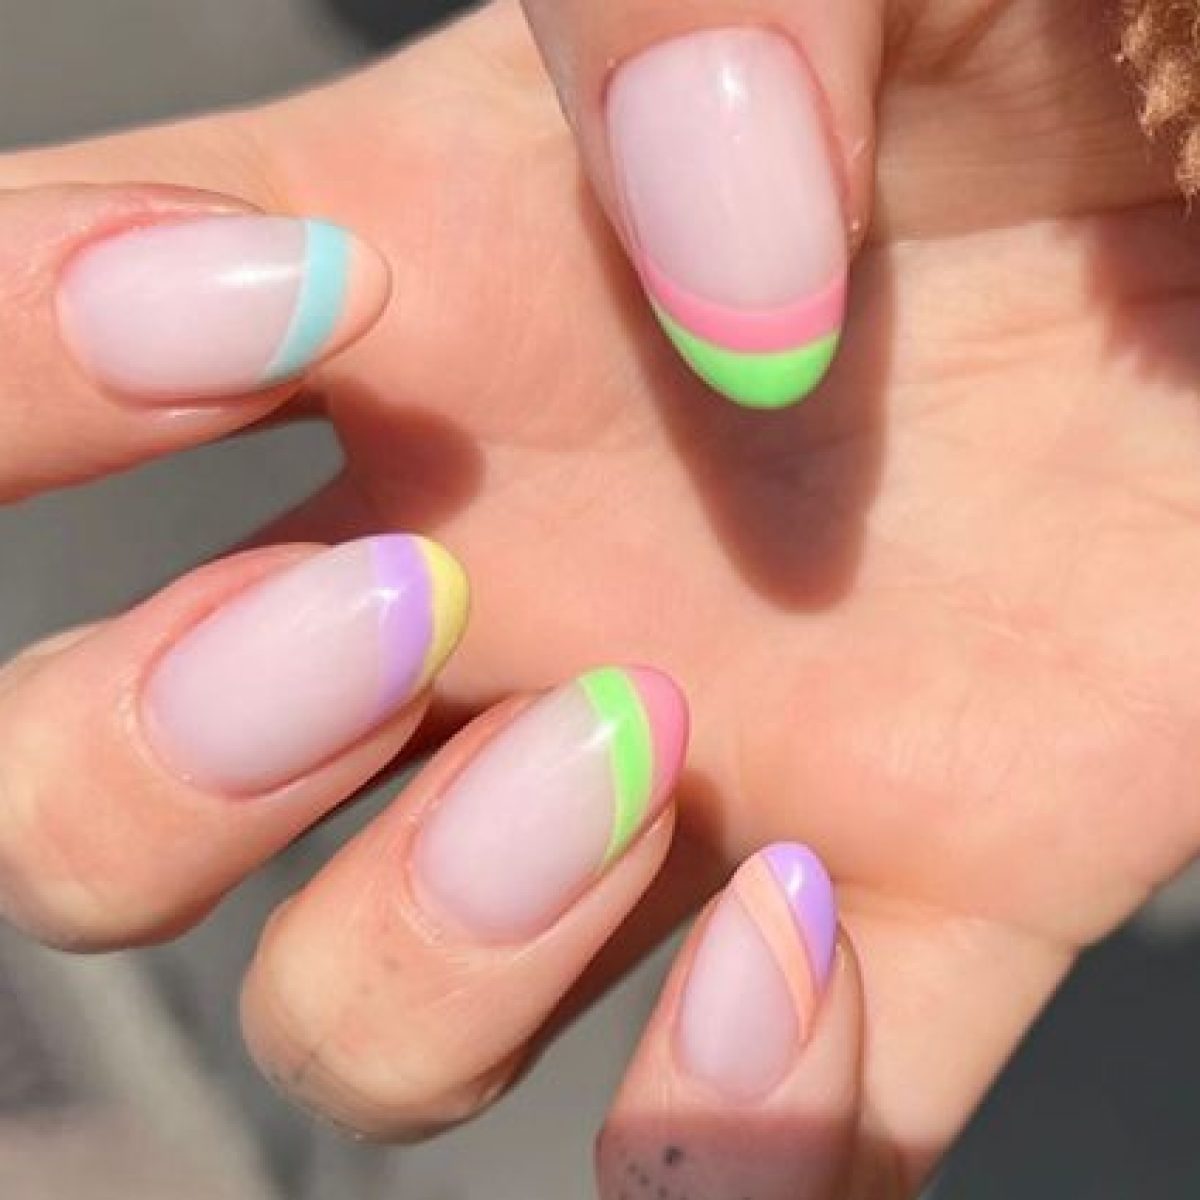
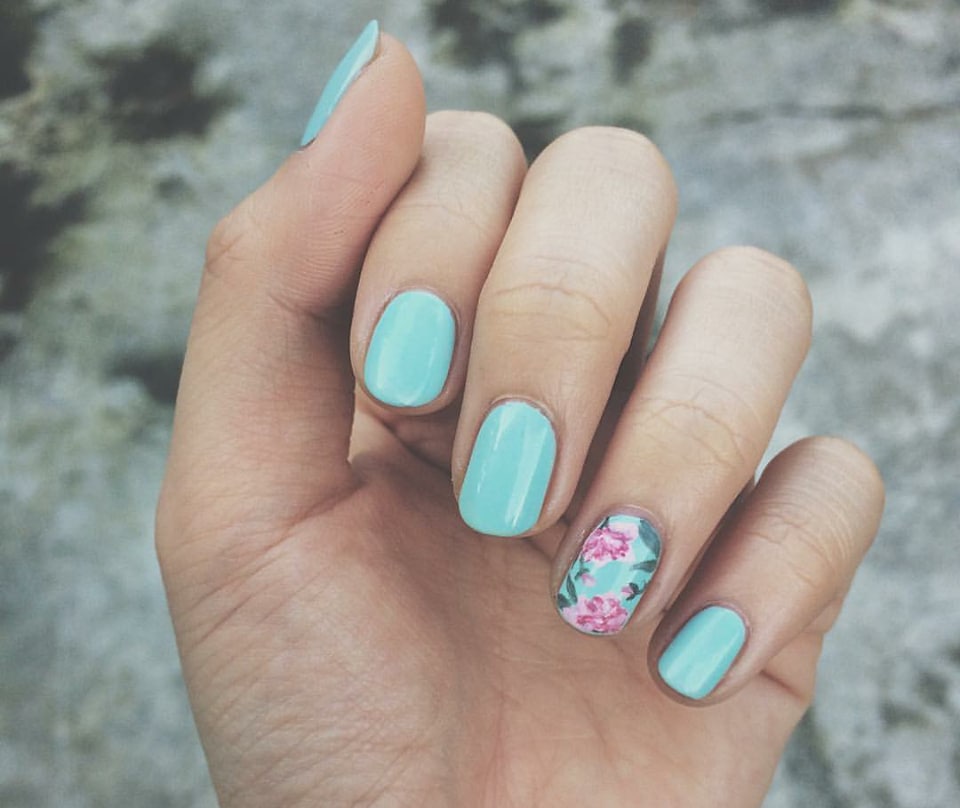
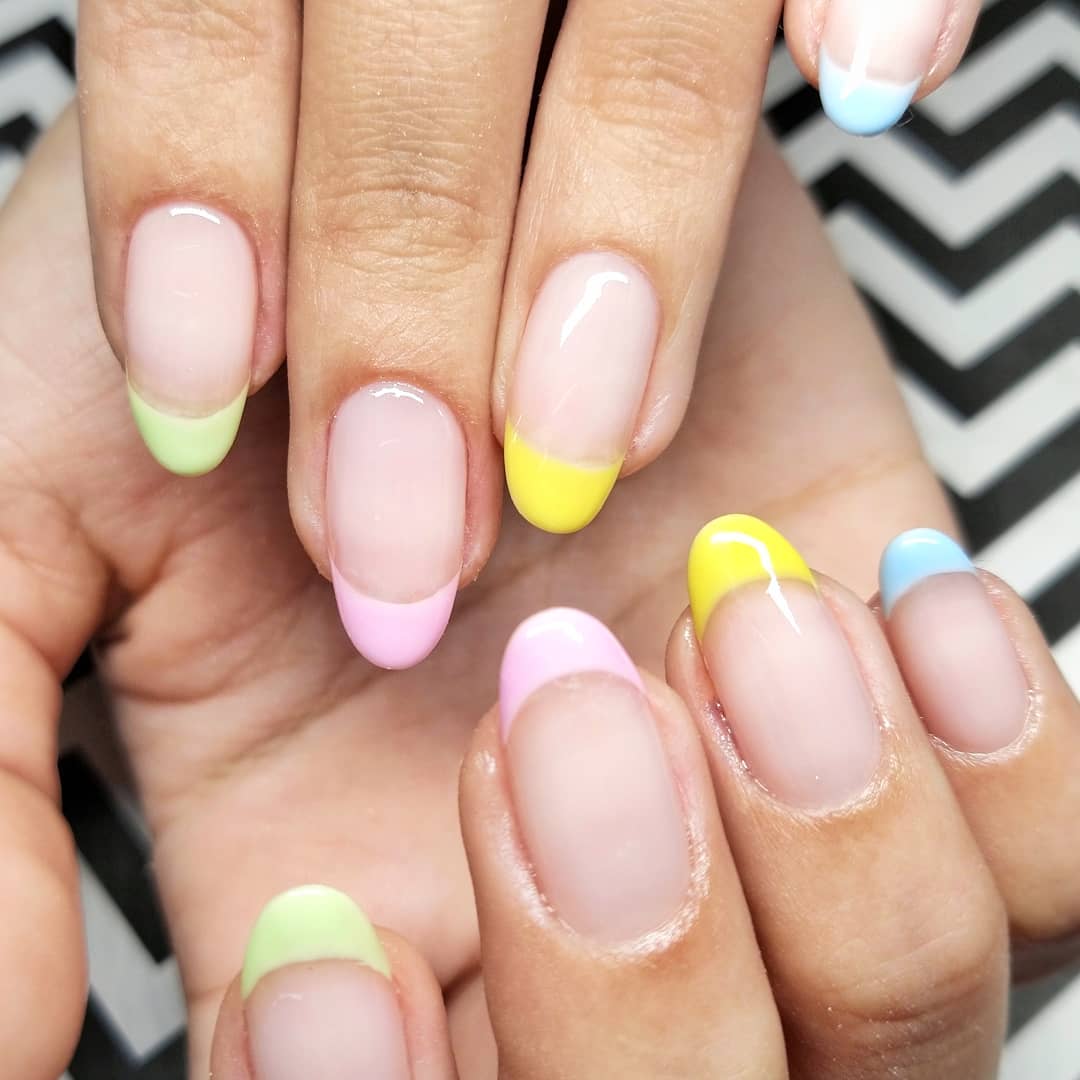
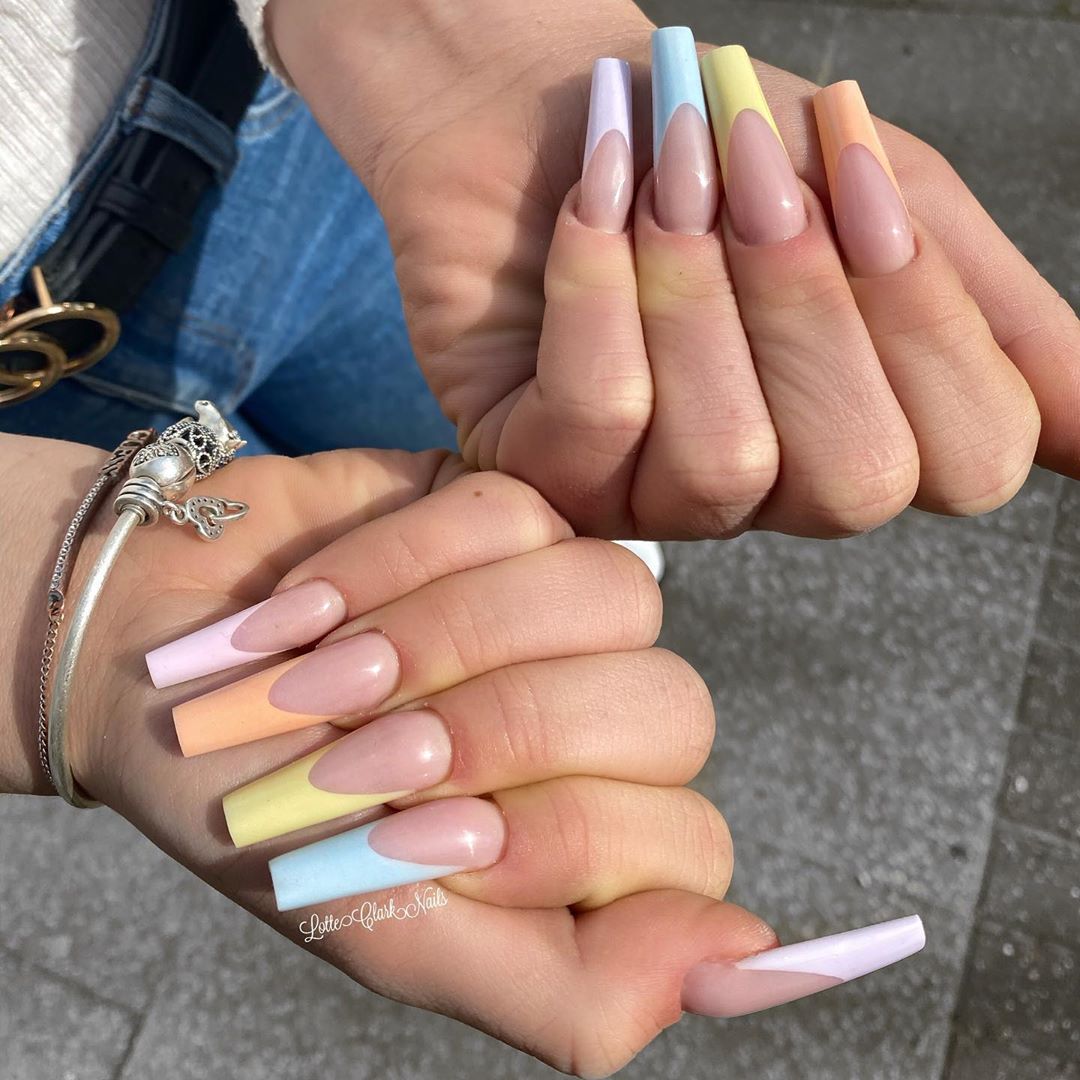
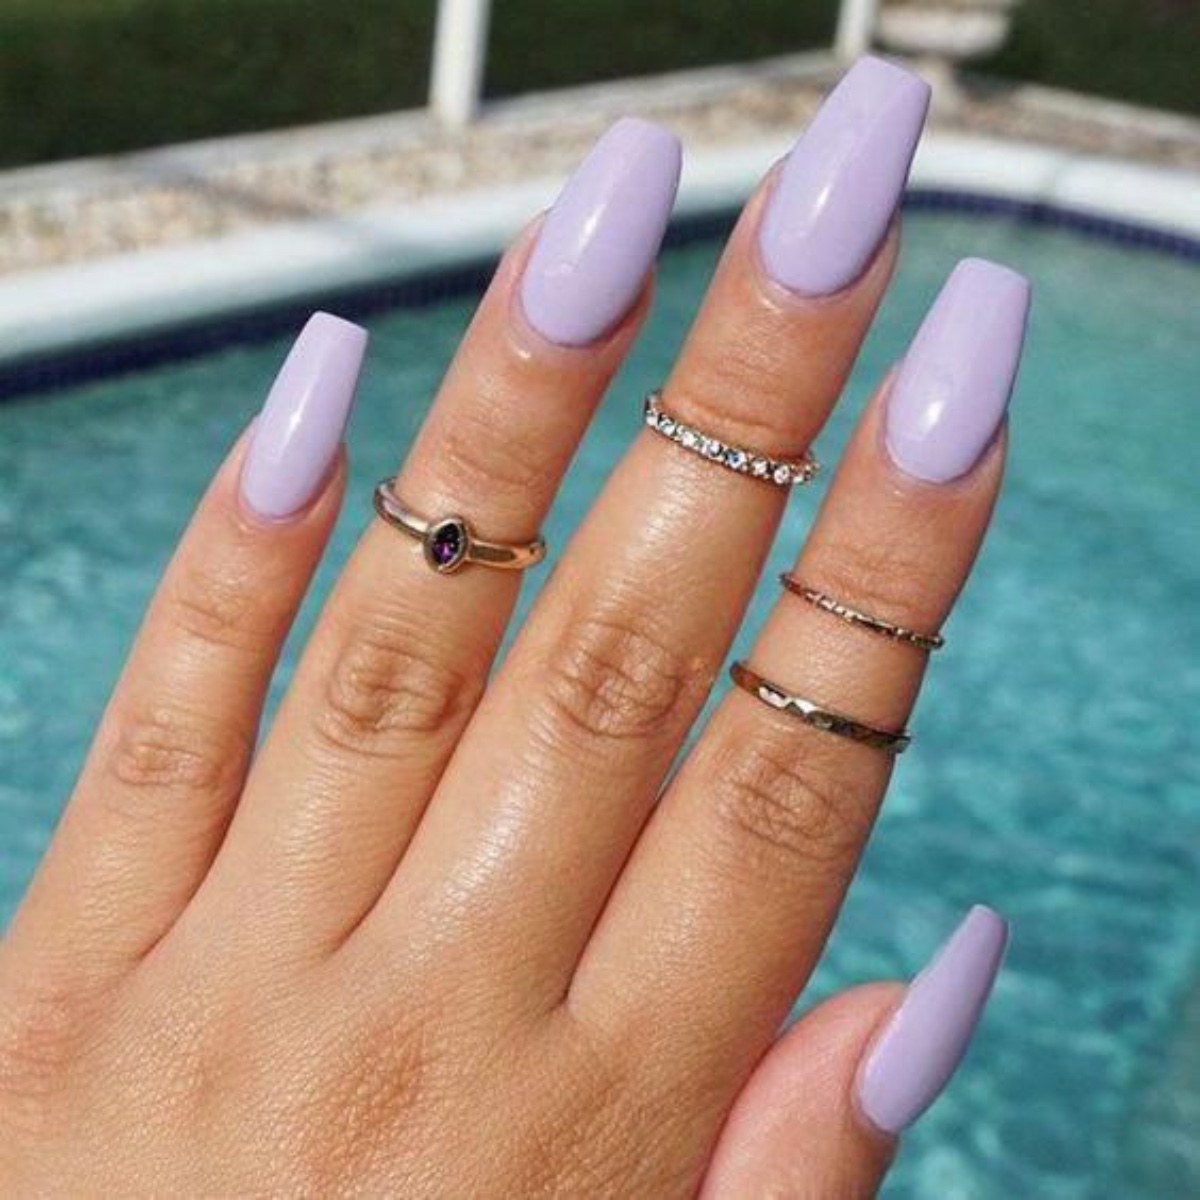
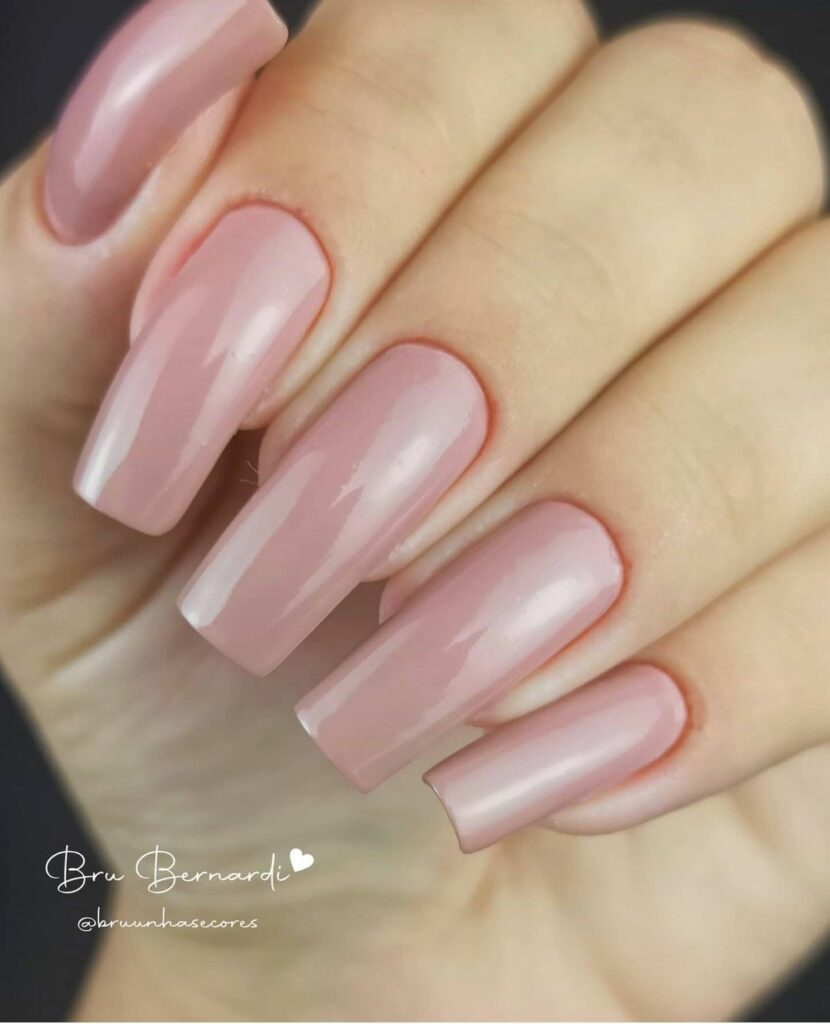
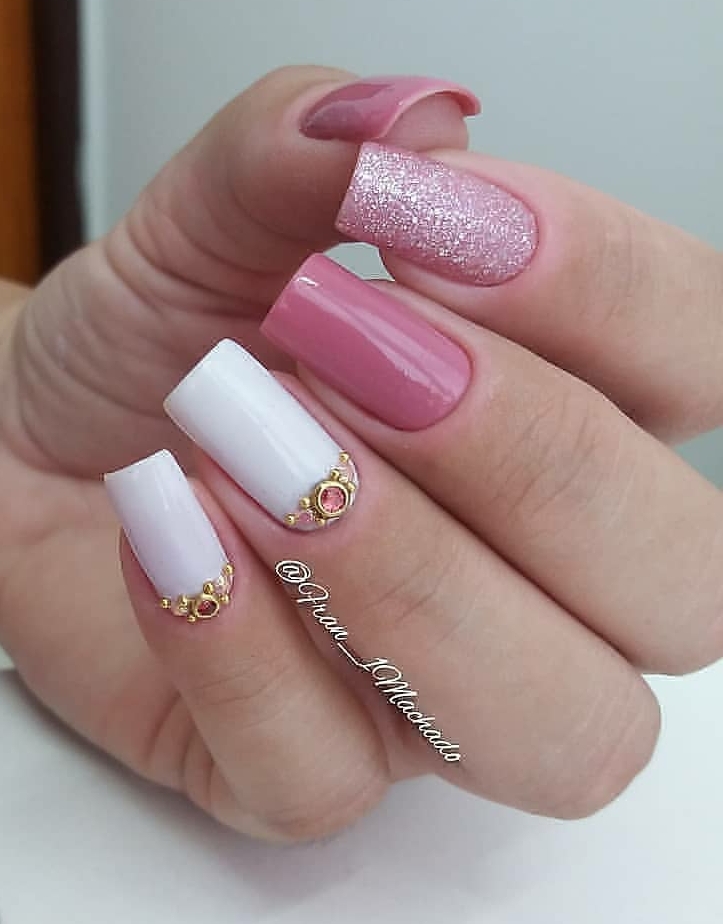
Scroll right down to see all of the pastel nails we discovered on Instagram.