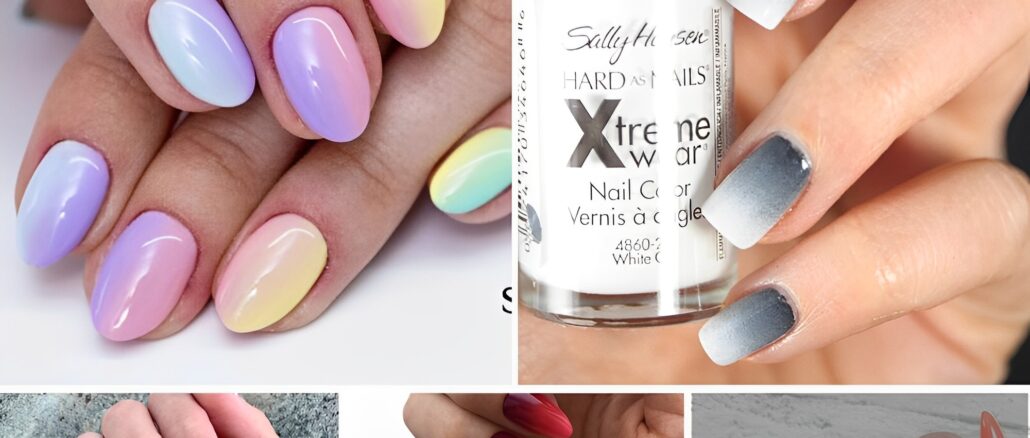
Ombre nails are a beautiful and mesmerizing transition of colors. Whether you want to use complementary colors, contrasting shades, or even just different tones of the same color, ombre nails are versatile and trendy. Let’s delve into some stunning designs and then provide a simple tutorial on how to achieve the look.
1. Sunset Bliss:
Transition from deep magenta at the base, through orange, and finally to a soft yellow at the tips.
2. Ocean Depths:
Start with a deep blue at the nail base and fade into a soft aqua or turquoise at the tips.
3. Forest to Field:
Go from a deep forest green at the base to a light, pastel green at the tips.
4. Pink to White Frost:
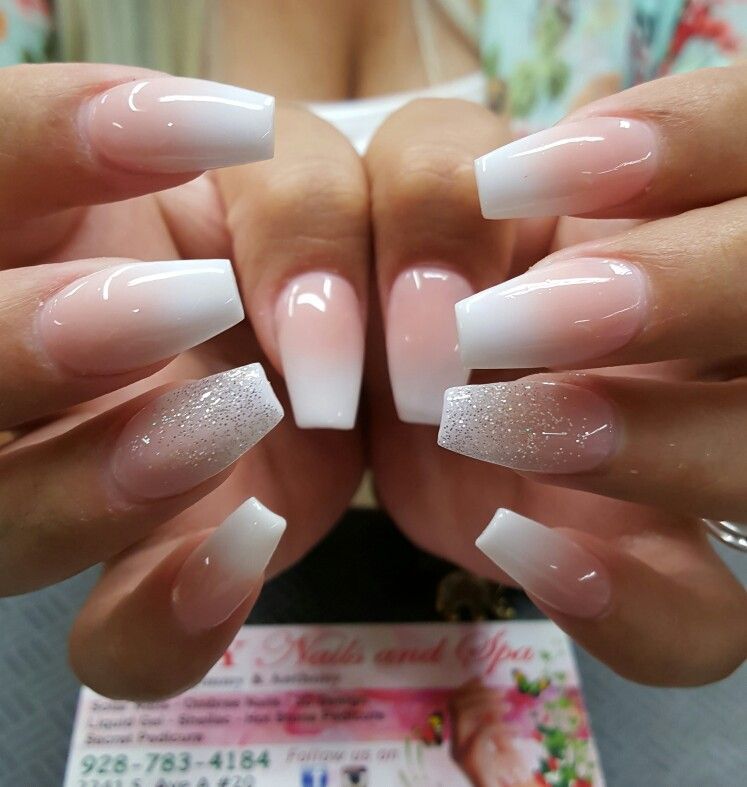
Perfect for a softer look, transition from a baby pink to a frosted white tip.
5. Midnight Sky:
Start with a deep, midnight blue or black and transition into a soft gray or silver, reminiscent of the night sky.
6. Classic Nude to White:
For a chic and minimalistic look, transition from a nude base to a white tip.
Tutorial for Ombre Nail Design:
Materials:
- Two nail polish colors of choice.
- A makeup sponge.
- A top coat.
- Nail polish remover and a clean-up brush.
Steps:
- Base Coat:
Begin by applying a base coat to protect your natural nails. - Base Color:
Apply a light coat of the lighter color nail polish as your base. Let it dry completely. - Ombre Blend:
On the flat side of your makeup sponge, paint a generous amount of your lighter color on one half and your darker color on the other half. The colors should be touching in the middle. - Dab on Nails:
Dab the sponge onto your nail starting from the base, moving upwards. Press down and move the sponge up and down a bit to blend the colors seamlessly. Repeat 2-3 times or until you’re satisfied with the ombre effect. - Clean Up:
Use a clean-up brush dipped in nail polish remover to clean up any polish that might have gotten onto your skin. - Top Coat:
Once the ombre design is dry, seal in your design with a clear top coat to give it a glossy finish and protect your artwork.
And there you have it, a stunning ombre nail design. With the above ideas as inspiration, the possibilities are endless. Happy painting! 🌈💅🏼


