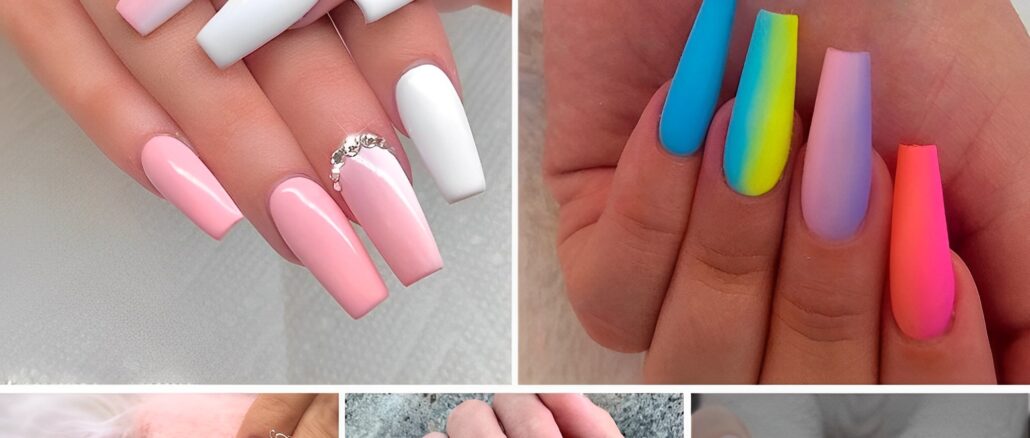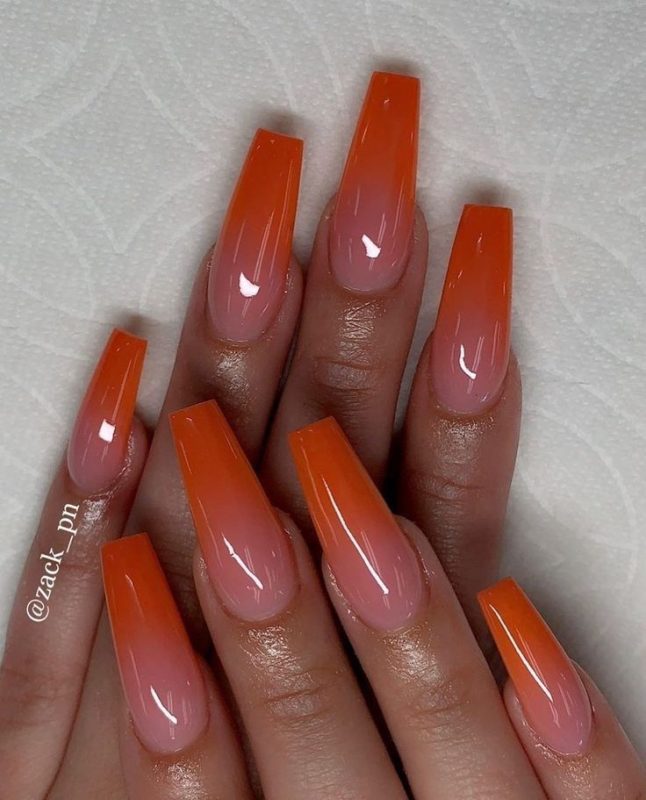
Ombre nails have become a staple in the world of manicure due to their stunning gradient effect that can be customized with endless color combinations. A glamorous ombre nail design not only adds a touch of sophistication to your look but also allows for creative expression. Below, you’ll find a selection of glamorous ombre nail design concepts, complete with a step-by-step tutorial to achieve this chic look at home.
Glamorous Ombre Nail Design Concepts
- Metallic Gold to Nude Ombre: This elegant ombre effect transitions from a sparkling metallic gold at the base to a soft nude at the tip, perfect for evening events or a sophisticated daytime look.
- Midnight Blue to Silver Glitter Ombre: Capture the beauty of a starry night with a deep midnight blue fading into a dazzling silver glitter. This design is ideal for parties or special occasions.
- Rosy Pink to Champagne Ombre: A romantic and feminine option, this gradient combines a soft rosy pink with a shimmering champagne finish, offering a subtle yet glamorous touch.
- Emerald Green to Black Ombre: For a bold and dramatic look, opt for a luxurious emerald green that fades into a deep black. This design adds an edge to your nails while maintaining an air of elegance.
- Sunset Ombre: Mimic the breathtaking colors of a sunset with gradients of orange, pink, and purple. This vibrant design is perfect for summer and beach vacations.
DIY Ombre Nail Tutorial
What You’ll Need:
- Base coat
- Two or more nail polish colors of your choice
- A small makeup sponge
- Top coat
- Toothpicks (optional)
- Nail polish remover
- Clean up brush or cotton swabs
Steps:
- Preparation: Start with clean, filed nails. Apply a base coat to protect your nails and ensure a smooth application.
- Base Color: Apply the lighter of your chosen colors as the base coat and let it dry completely. This will be the color that appears at the top of your ombre effect.
- Prepare the Sponge: Take your makeup sponge and apply a line of each color directly onto it, slightly overlapping them. If you’re doing a two-color ombre, place the colors side by side. For a more complex gradient, you can add more colors.
- Dabbing: Gently dab the sponge onto your nails, starting at the base and moving slightly upward to create a smooth gradient effect. You might need to reapply the polish to the sponge and repeat a few times to achieve the desired opacity and blend.
- Clean Up: Use a clean-up brush or cotton swab dipped in nail polish remover to clean up any polish that got onto your skin around the nails.
- Top Coat: Once your ombre design is dry, apply a top coat to seal in the design, add shine, and extend the wear of your manicure.
- Dry Completely: Allow your nails to dry thoroughly before using your hands to prevent smudging.
This DIY tutorial can be adapted to any color scheme to match your style or occasion. The key to a successful ombre manicure is patience and practice, so don’t be discouraged if it takes a few tries to perfect your technique. Enjoy experimenting with different colors and gradients to create your own glamorous ombre nails.


