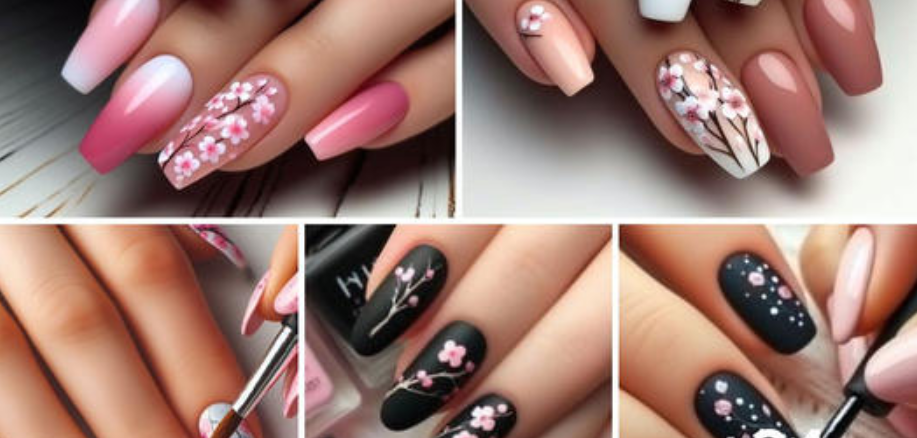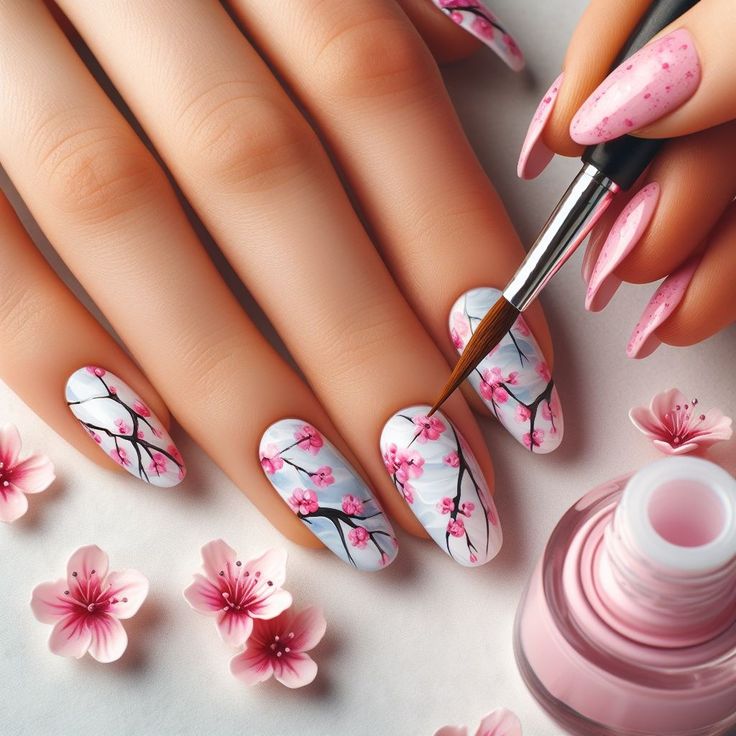
Spring is a season of renewal, with cherry blossoms symbolizing the fleeting beauty and new beginnings that come with this time of year. Capturing this essence on your nails not only celebrates the season but also brings a touch of elegance and delicacy to your look. Cherry blossom nails are a timeless and graceful design that can be customized in numerous ways to suit your style.
1. Classic Cherry Blossom Design
The classic cherry blossom nail design features a soft, pastel pink or white base with delicate branches and blossoms painted on top. Using a fine brush, you can create the thin branches that meander across the nail, with small clusters of blossoms. These blossoms can be painted with varying shades of pink and white to give them depth and a more realistic appearance. For added texture, you can use a dotting tool to create the flower centers.

2. Ombre Cherry Blossom Nails
Ombre nails add a modern twist to the traditional cherry blossom design. Start with a gradient background that transitions from a pale blue at the cuticle to a soft pink at the tip. This background mimics the spring sky and provides a beautiful backdrop for the blossoms. Once the gradient is dry, paint the cherry blossoms and branches over the top. The ombre effect adds a dreamy, ethereal quality to your nails, enhancing the overall aesthetic.
3. 3D Cherry Blossom Art
For a more textured and three-dimensional look, consider adding 3D elements to your cherry blossom nails. This can be achieved using nail art accessories like small flower decals, rhinestones, or even tiny dried flowers. Begin with a pastel base color, then apply the 3D elements to create the blossoms. Secure them with a clear top coat to ensure they stay in place. This design adds a tactile element to your nails, making them stand out even more.
4. Minimalist Cherry Blossom Nails
If you prefer a more understated look, minimalist cherry blossom nails are an excellent choice. Start with a nude or sheer pink base and add simple black or brown branch lines with just a few blossoms on each nail. This style is subtle yet elegant, perfect for those who want to celebrate spring without a lot of fuss. Minimalist designs are also quicker to create and maintain, making them ideal for those with a busy lifestyle.
5. Accent Cherry Blossom Nails
Another way to incorporate cherry blossom nails into your look is by using them as an accent. Paint most of your nails in a solid color, such as a pale pink or white, and reserve one or two nails for the cherry blossom design. This approach allows you to enjoy the beauty of cherry blossoms without committing to a full set of intricate nail art. It’s a versatile option that can be easily customized to fit any occasion.
Tips for Perfect Cherry Blossom Nails
- Quality Brushes: Use fine-tipped brushes for precise lines and detailed work.
- Patience: Allow each layer to dry completely before adding new elements to avoid smudging.
- Top Coat: Finish with a clear top coat to seal in your design and add shine.
- Practice: If you’re new to nail art, practice on a nail wheel or paper before applying to your nails.
Cherry blossom nails capture the essence of spring beautifully, bringing a sense of elegance and natural beauty to your manicure. Whether you prefer classic designs or modern twists, there are endless ways to customize this look to suit your personal style. So, embrace the season and let your nails bloom with the beauty of cherry blossoms.

